I posted previously about National Youth Leadership Forum (NYLF) and its extremely expensive summer camps. In that post, I detailed what the camps included and that, from my perspective as…
![]()
I tinker with tech…
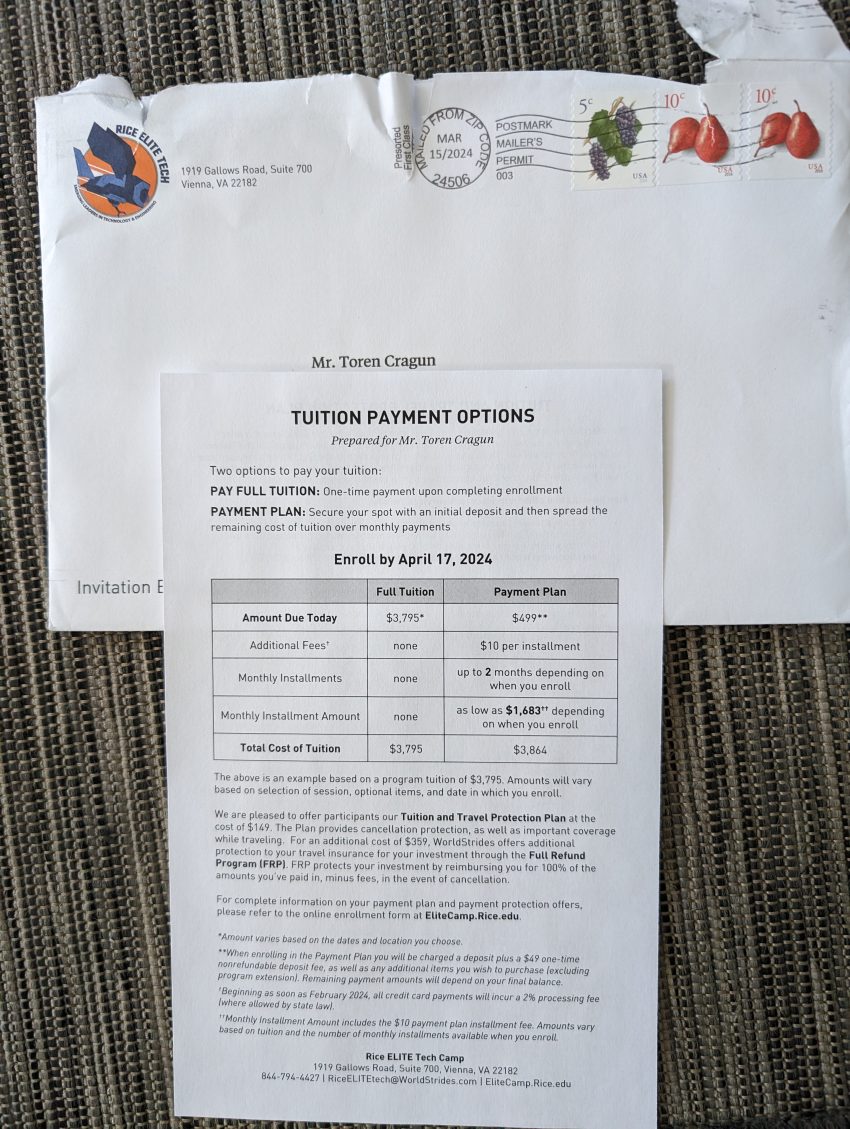
I posted previously about National Youth Leadership Forum (NYLF) and its extremely expensive summer camps. In that post, I detailed what the camps included and that, from my perspective as…
![]()
I read a lot. It’s part of my job. But I also have times when I have to be physically up and about and could listen to an audiobook (e.g.,…
![]()

I spent the better part of a year (in my spare time) organizing my music collection. With my music carefully organized and accurately tagged, I found myself wanting the Beats…
![]()

(NOTE: This was done in R 4.3.1 using RStudio 2023.03.0.) Here’s the scenario: I have a variable (V1) from Country A with roughly ~1,000 responses that measures religious affiliation with…
![]()

I recently hired a panel survey company to conduct surveys in several countries around the world. With some of the questions, we gave participants the option to select “other” and…
![]()
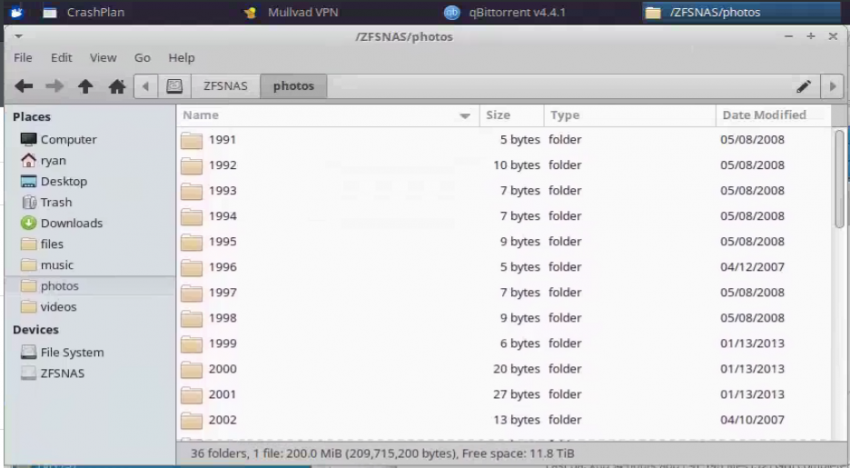
I built my own Network Attached Storage (NAS) computer a few years ago but have been looking for an opportunity to upgrade the hard drives so I have more space….
![]()
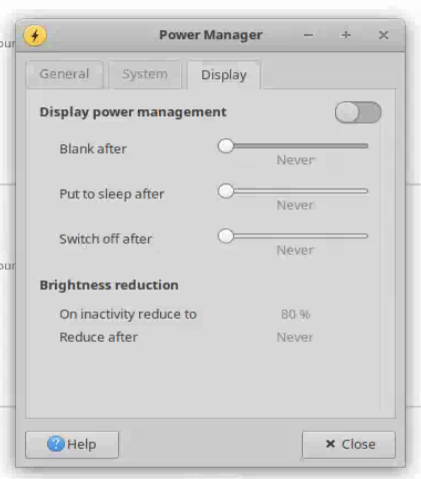
I have a headless fileserver that runs XFCE (Xubuntu). I recently reformatted the operating system (transferring my files in a ZFS raid to the new operating system rather seamlessly). But…
![]()
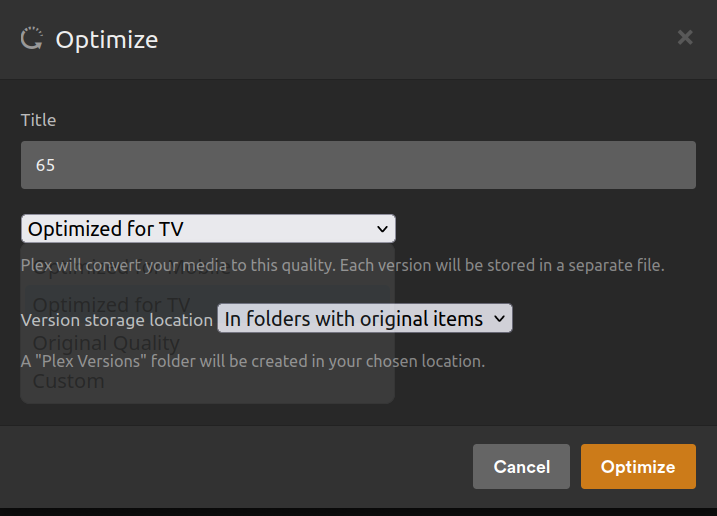
I was traveling with my wife and son, staying at an AirBnB a few states away from home, and wanted to watch some videos from my Plex server (server software…
![]()
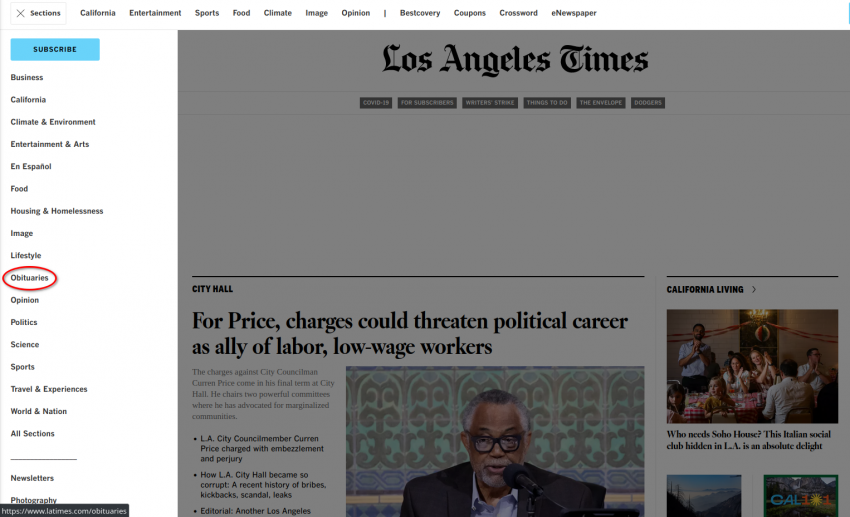
I’m a college professor. As a result, I have access to a number of research resources that most people don’t have, including my university’s library, which subscribes to numerous databases…
![]()
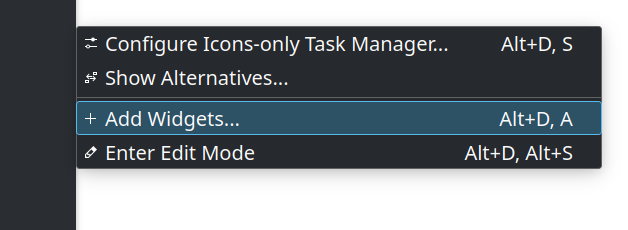
I just happened upon an interesting little bonus feature in Kubuntu 22.04 with KDE Plasma 5.24.7 that I thought I’d share since it’s so nifty. It’s possible to add a…
![]()