I read a lot. It’s part of my job. But I also have times when I have to be physically up and about and could listen to an audiobook (e.g.,…
![]()
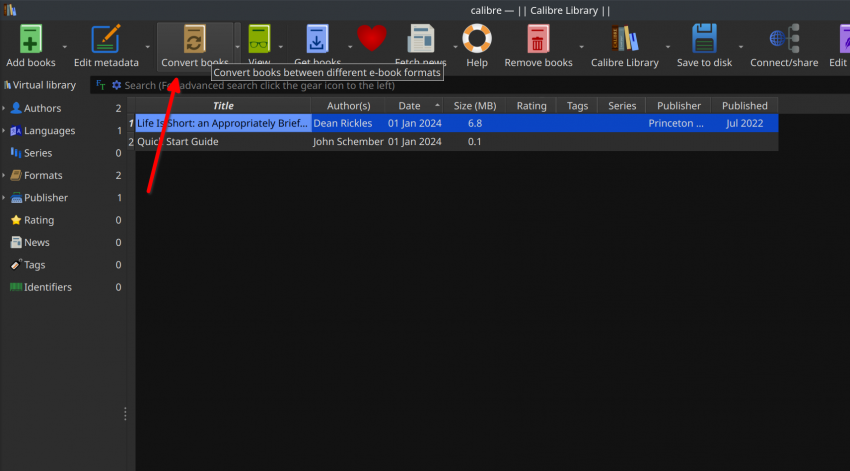
I read a lot. It’s part of my job. But I also have times when I have to be physically up and about and could listen to an audiobook (e.g.,…
![]()

I spent the better part of a year (in my spare time) organizing my music collection. With my music carefully organized and accurately tagged, I found myself wanting the Beats…
![]()
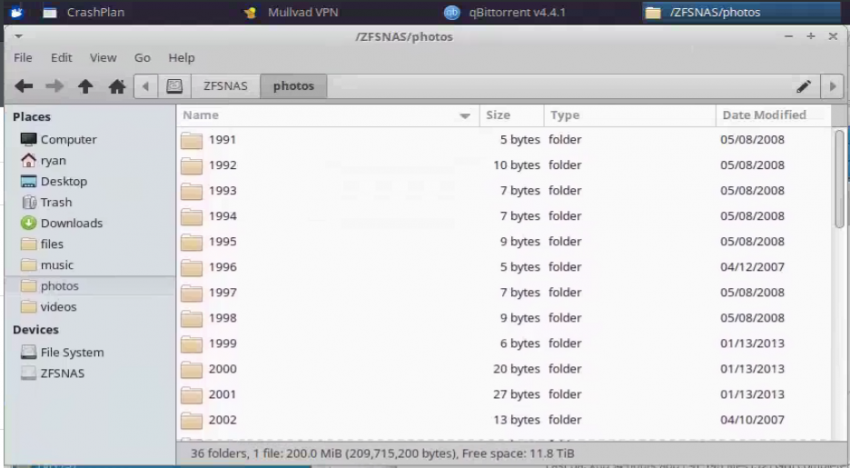
I built my own Network Attached Storage (NAS) computer a few years ago but have been looking for an opportunity to upgrade the hard drives so I have more space….
![]()
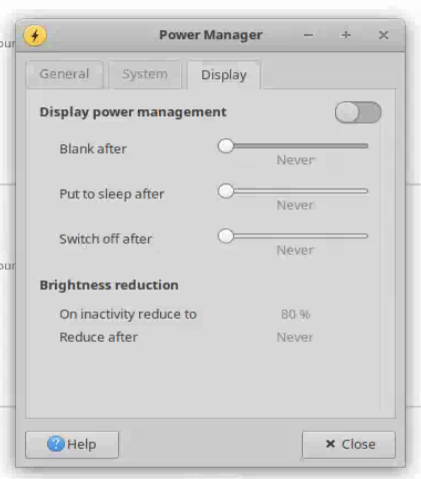
I have a headless fileserver that runs XFCE (Xubuntu). I recently reformatted the operating system (transferring my files in a ZFS raid to the new operating system rather seamlessly). But…
![]()
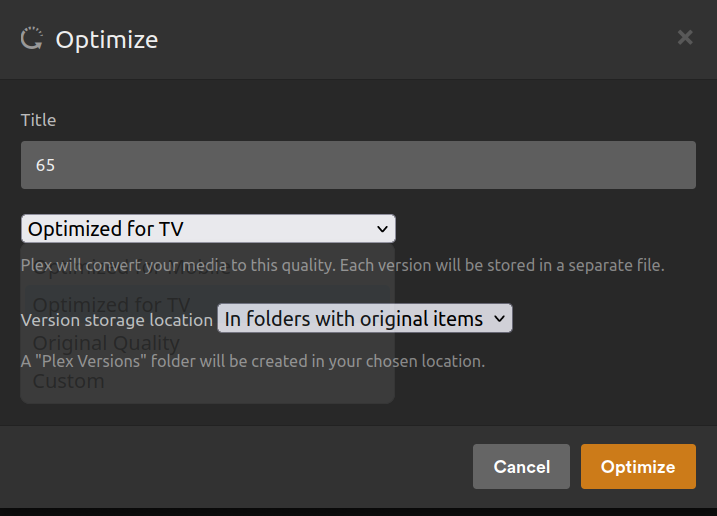
I was traveling with my wife and son, staying at an AirBnB a few states away from home, and wanted to watch some videos from my Plex server (server software…
![]()
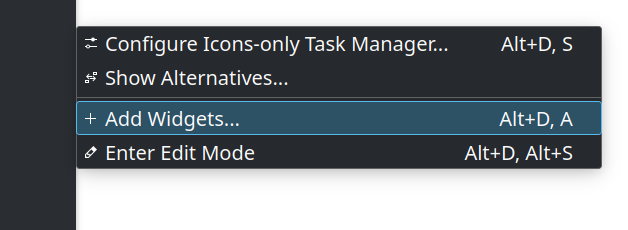
I just happened upon an interesting little bonus feature in Kubuntu 22.04 with KDE Plasma 5.24.7 that I thought I’d share since it’s so nifty. It’s possible to add a…
![]()
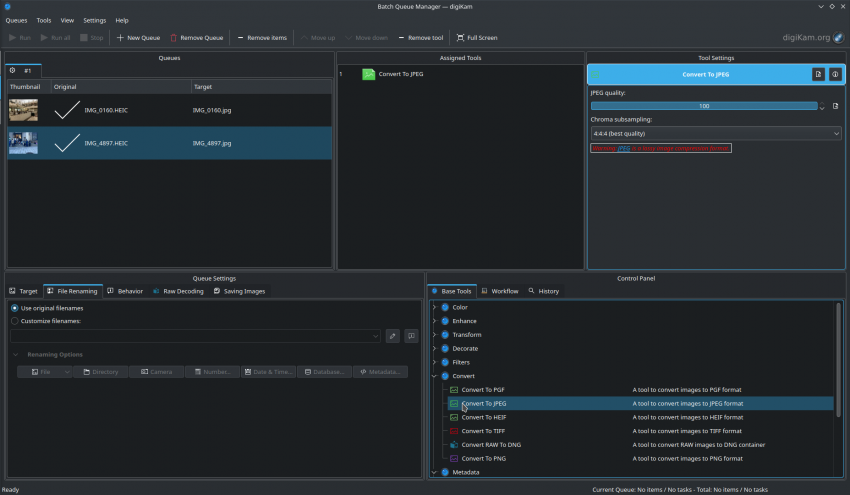
My son recently went on a field trip. The teachers who went with him took hundreds of photos… on their iPhones. Since I want the photos of him, I downloaded…
![]()
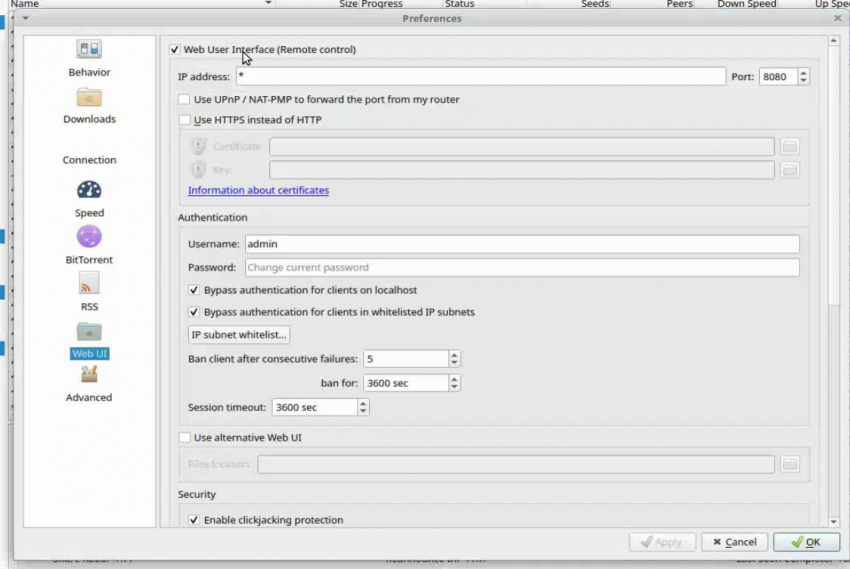
I download my Kubuntu installation images via Bit Torrent and like to keep Bit Torrent running most of the time. However, there are occasionally times when I want to pause…
![]()
In the 22.04 version of Ubuntu/Kubuntu, Firefox was switched from a repository to a snap. I don’t know enough about the technical reasons for that, but it does mean that…
![]()
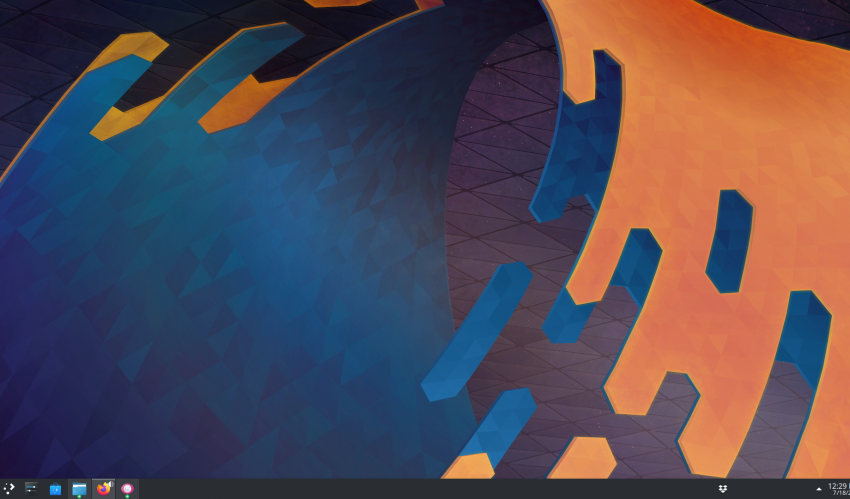
Kubuntu is my distribution of choice. I really like the flexibility of the KDE Desktop. But, pretty much every time I install Kubuntu, something goes haywire with the desktop, typically…
![]()