Tag: technology
-
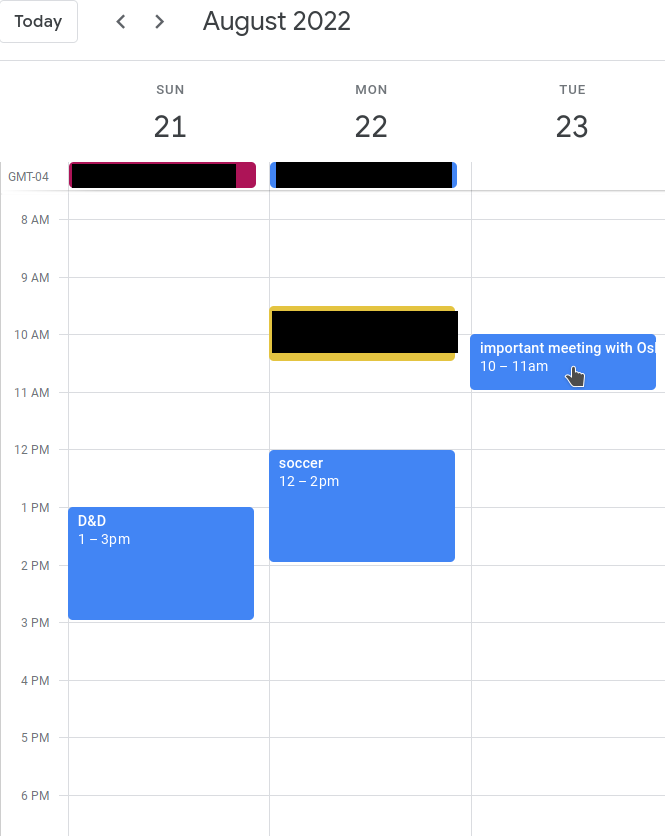
Google Calendar Time Zone tricks
I regularly collaborate with scholars around the world. One problem that arises from that, however, is that we have to coordinate time zones. As a result, I have picked up a couple of really nifty features of Google Calendar that manage that for me. Here are the two I use most frequently. Add a Meeting…
-
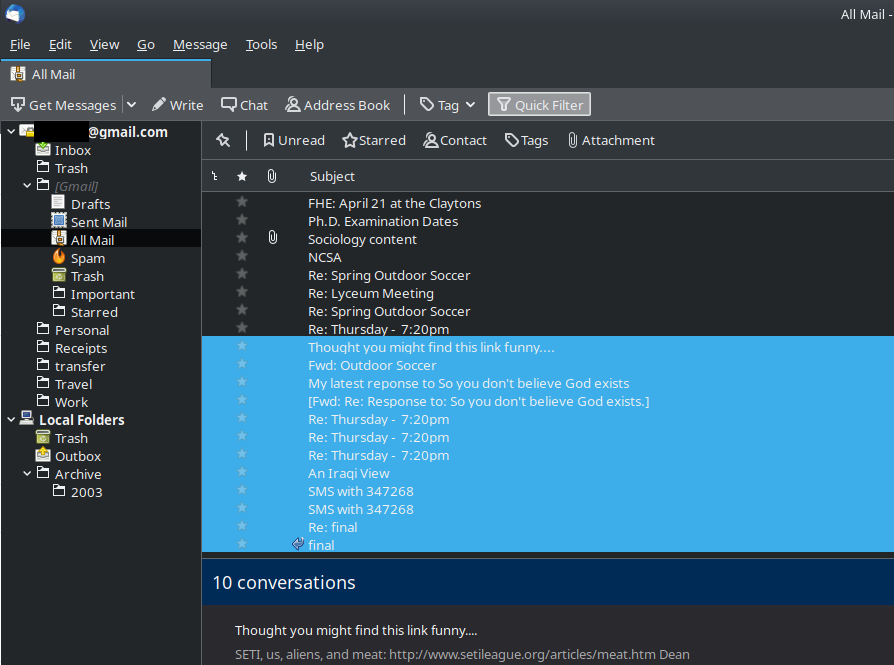
Long Term Storage of Gmail/Email using Mozilla’s Thunderbird (on Linux)
I have email going back to 2003. There have been times when I have actually benefited from my email archive. Several times, I have gone back 5 or more years to look for a specific email and my archive has saved me. However, my current approach to backing up my email is, let’s say, a…
-
Unethical Amazon Review Modifications
I don’t always review products on Amazon. I don’t have the time. But there have been two instances over the past year when I have been contacted by someone because of a review I wrote on Amazon. Both times, these individuals have tried to bribe me to remove my negative review of the product. Here’s…
-
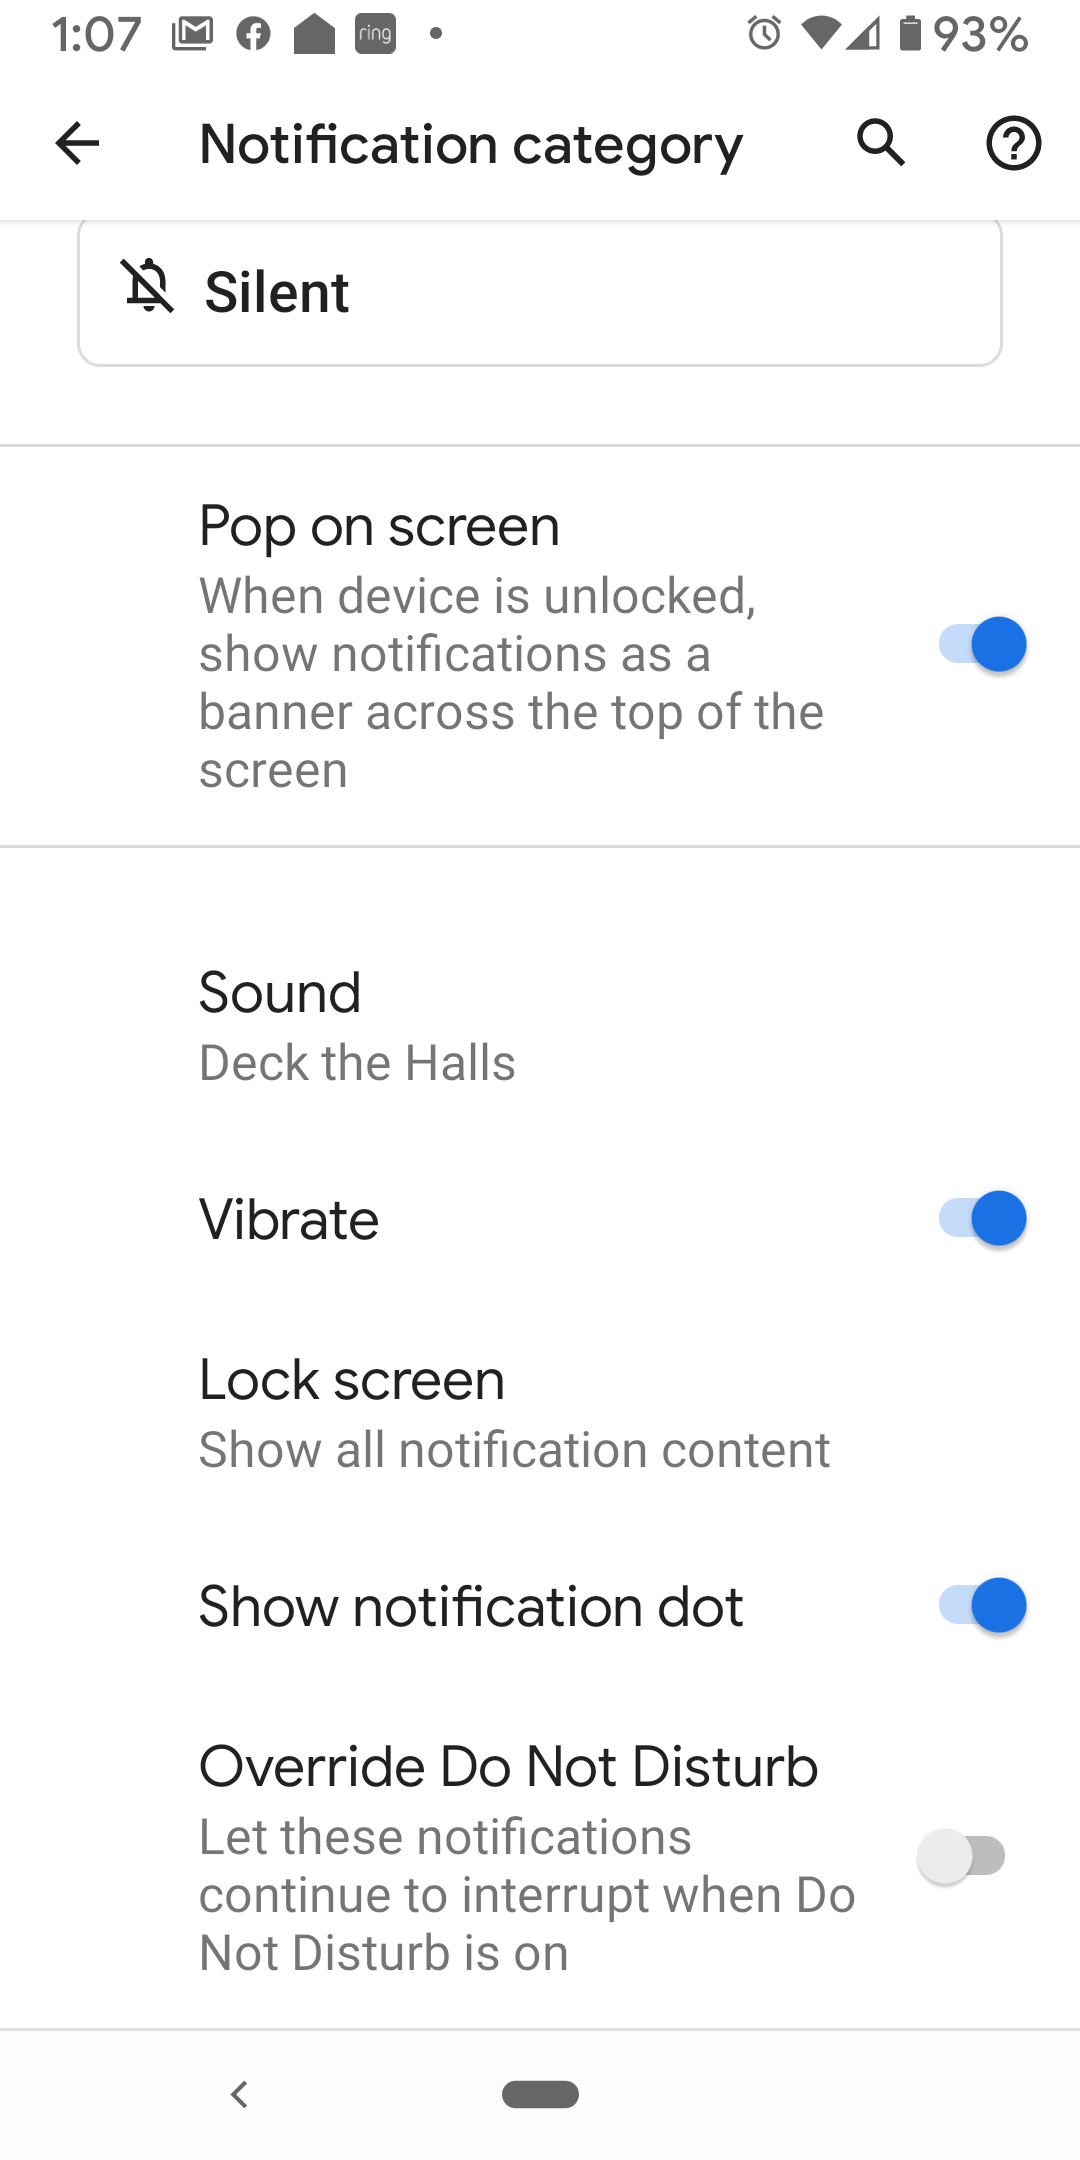
Change Doorbell Sound on Ring App and Amazon Echo
I’ve had a Ring doorbell (and security system) for quite a while. I never bought the chime that goes with the doorbell because it has always worked through my Amazon Echo devices. However, I only recently learned that you can change the notification sounds you get when someone rings your doorbell. However, how you do…
-
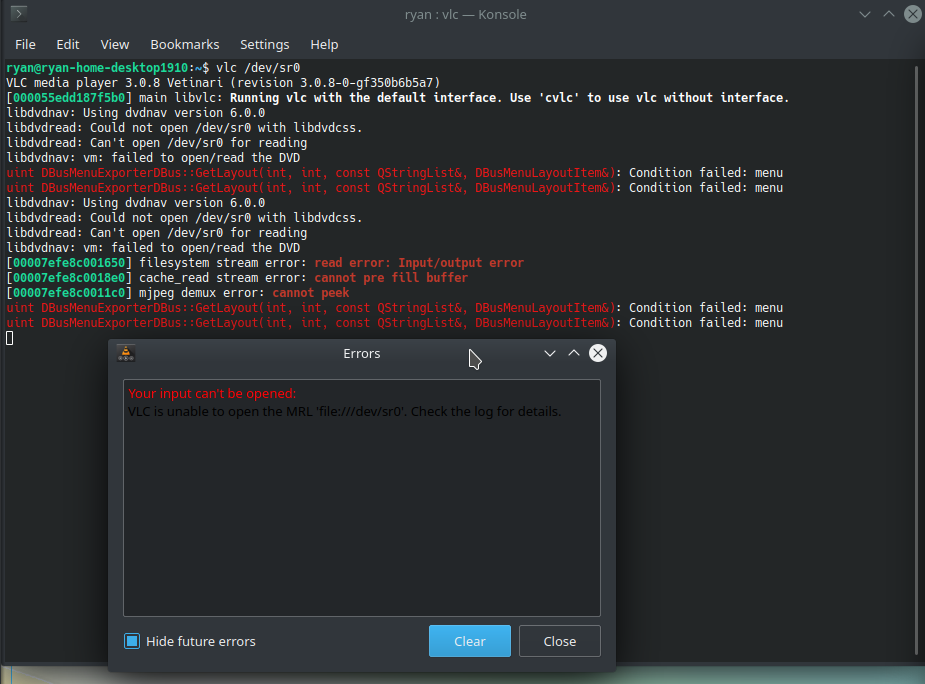
Linux – Failing to Read Encrypted DVDs
Thanks to the fine folks at VLC and Ubuntu, watching DVDs on Linux is generally pretty straightforward. Install “libdvd-pkg” and follow the prompts and you’re generally good to go. That works for me almost all of the time. However, I recently tried to watch a DVD and had no luck. I would insert the DVD…
-
Linux – tinyMediaManager on Kubuntu 18.04
I run a network attached storage (NAS) device at home to manage all my media (e.g., music, videos, photos, etc.). I have used various programs over the years to manage the naming and organizing of my music files but just recently discovered tinyMediaManager for managing video files. Since it’s written in Java, it works on…
-
Linux – Fixing the Epson (V33 Perfection) Scanner Issue in Kubuntu 18.04
[NOTE: As of Ubuntu/Kubuntu 20.04, the drivers from Epson work fine without this workaround. Download the driver, then follow the directions to install it.] As of Kubuntu 17.10, my Epson V33 Perfection scanner stopped working with Linux. I bought this scanner specifically because it did work with Linux. That it stopped working was a serious…
-
R (Linux) – basic installation
To install the R programming environment on Linux is pretty straightforward, but it does require a little bit of know how in order to find the correct packages. As is typically the case with Linux, there are multiple ways to get things done. I like to use Synaptic for installing and removing software, but you…
-
Android: Wink Hub and Sprint’s Data Optimizer
I reformatted my Android phone (LG G3 with Android 5.0.1, software version LS990ZVG) the other day to address a problem I was having. After reformatting, I reinstalled all of my apps and everything seemed to be working fine until I tried to log into the Wink Hub app to adjust the settings for some of…
-
Linux: Installing Redshift
There is a growing body of research suggesting that blue light before bedtime can be associated with sleep problems. I’ve known about this for a while, but have just recently started having sleep problems. I decided to try some of the programs that make changes to the color of your monitors to see if it…