I’m not an expert in graphic design, but I like playing around with images on occasion. I had an itching to modify a logo recently that included text wrapped in a circle. It took me a couple of hours to figure out how to wrap text like that in GIMP and the tutorials I found online were not all that clear. So, I’m creating my own to help me remember in the future.
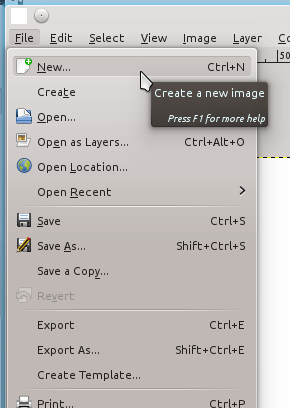
- First, install GIMP. That kind of goes without saying, but, yeah, do that. Then, open GIMP.
- Once you’ve got GIMP up and running, go ahead and open the image you want to work with or create a new image. The size doesn’t really matter for the tutorial, so make it whatever size you need.
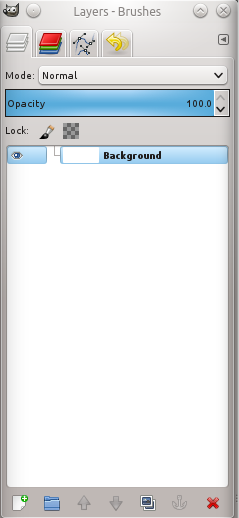
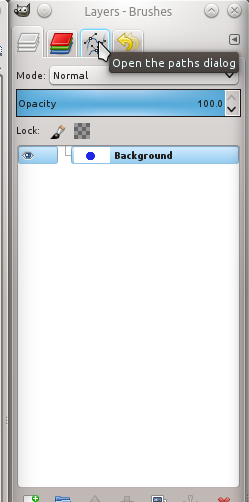
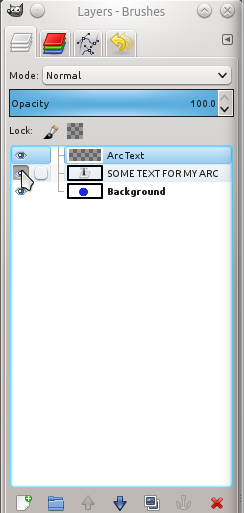
- You’re going to need to make sure you have the “Layers – Brushes” window open, which includes a tab for “paths” (which is the key to wrapping text). If this is not open, you can open it under “Windows -> Layers – Brushes”:
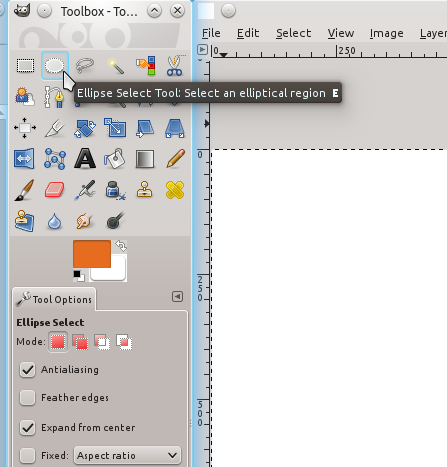
- Now, to give us a circle to wrap the text around, click on the “Ellipse Select Tool”.
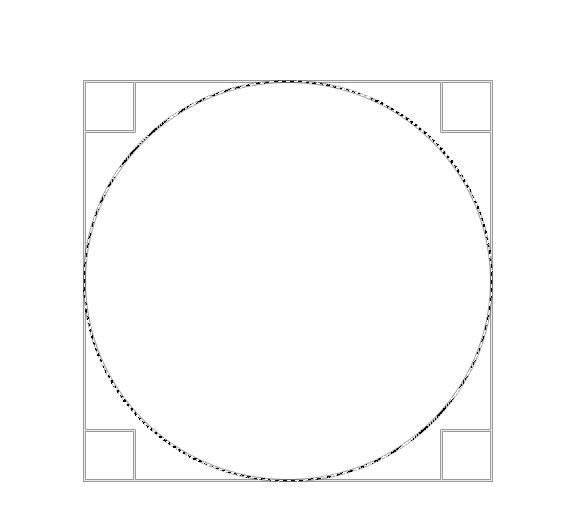
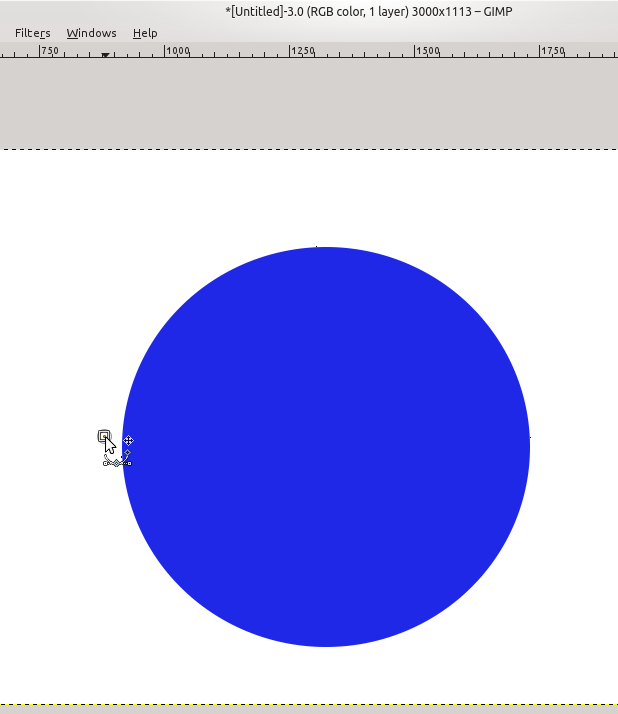
- Go ahead and draw a circle on your canvas.
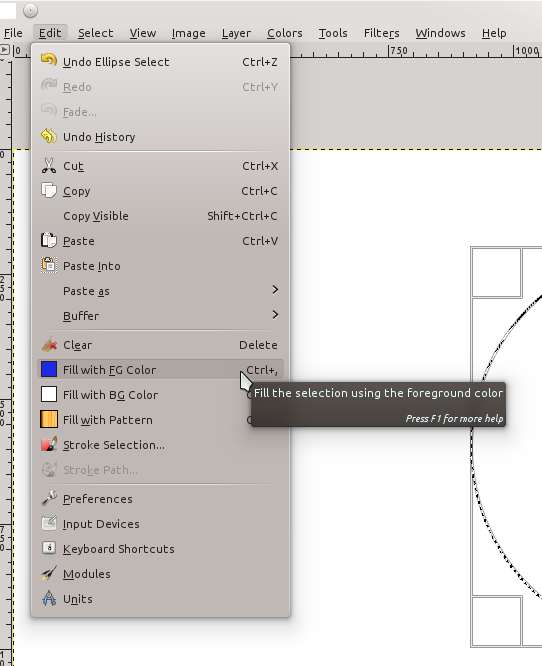
- Once you have a circle, fill it with a color by going to “Edit -> Fill with FG color” (you can also fill it with the BG color; you choose these colors in the Toolbox by clicking on the colors):
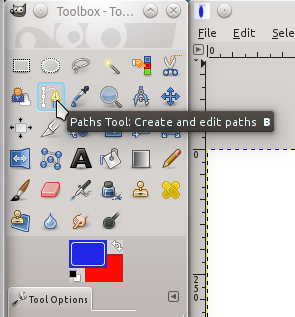
- Once you’ve filled the circle, deselect it so nothing is selected by clicking anywhere outside the circle with your “Ellipse Select Tool” (or the “Rectangle Select Tool”). We filled the circle just so we have an arc to wrap the text around. Now comes the tricky part. Choose your “Paths tool” in the Toolbox:
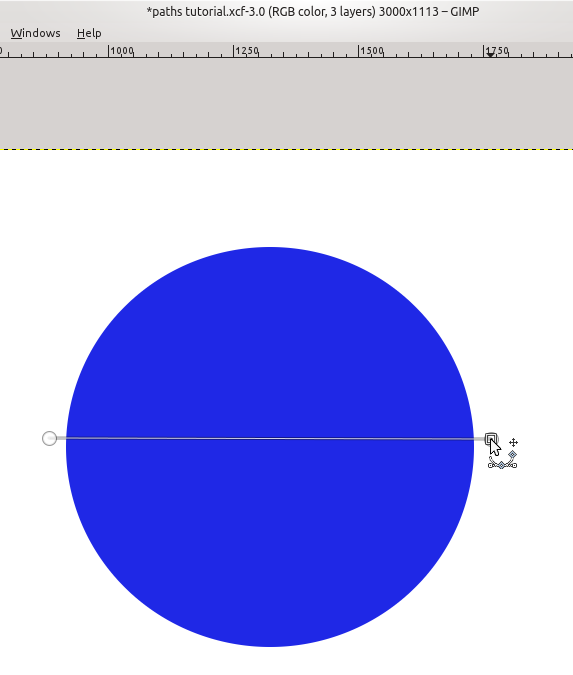
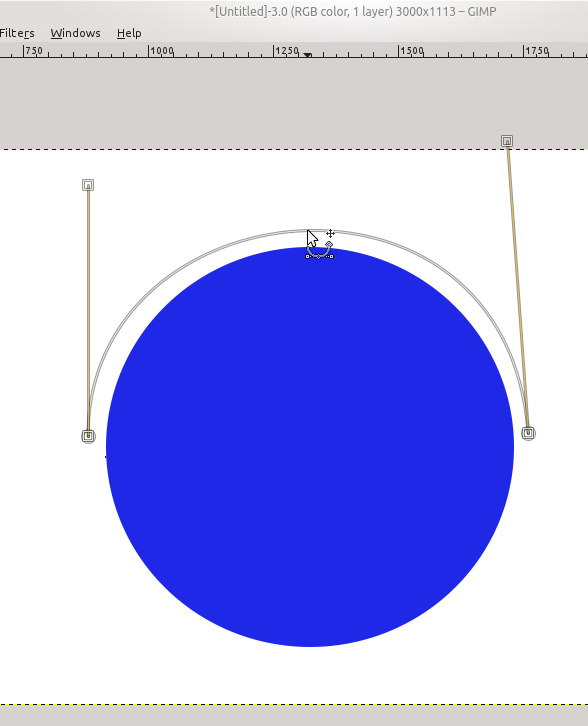
- You can create all sorts of paths with this tool – wavy lines, curved lines, jagged lines, etc. We’re going to use it to create a curve around our circle. To begin the curve, click on one side of the circle with the Paths Tool:
- Then click with the Paths Tool on the other side of the circle and you’ll see that it draws a line between the two points:
- How precise you are with these points is up to you. The next step, however, is to turn our line into an arc. To do this, move toward the middle of the line between the two points, select the line, and begin dragging it. You’ll notice that two additional lines will be added to the end points, which help you adjust the angles of your arc. Drag the line between the two points and/or the two lines that intersect with the two points until you are satisfied with your arc:
- Now, in your “Layers – Brushes” window, look for the “paths dialog” tab:
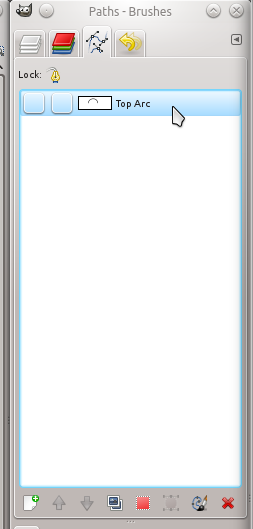
- Click on it and you’ll see a list of all of the paths that you have created. You can rename the path you just created by double-clicking on the name, but you don’t have to. I renamed mine “Top Arc”:
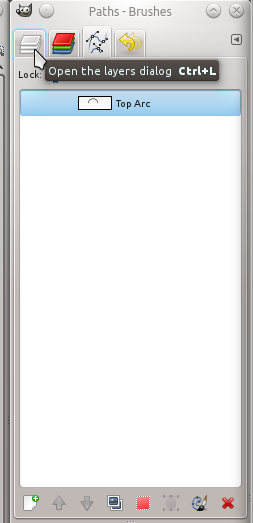
- Now, click back to the layers dialog in the “Layers – Brushes” window:
- You’re now going to create your text. Choose the “Text Tool” in your Toolbox:
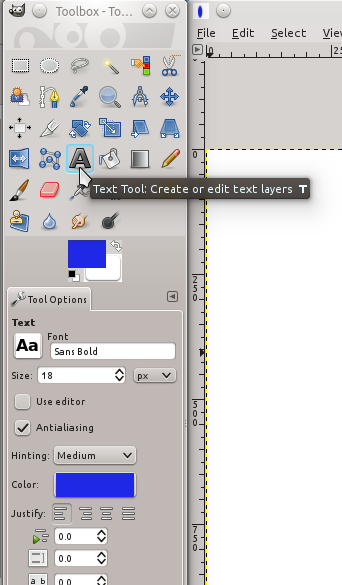
- Draw a textbox on your canvas and type some text:
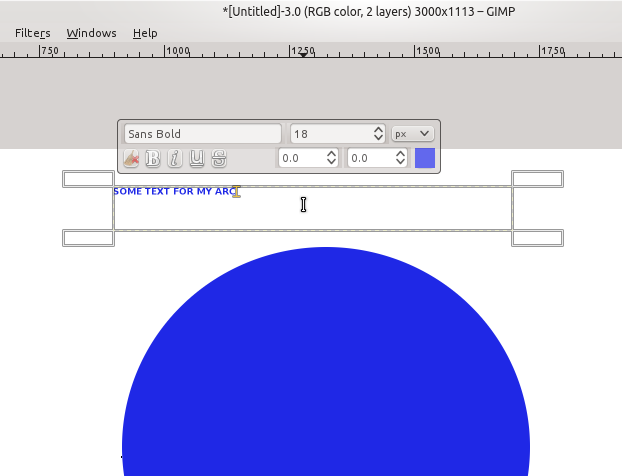
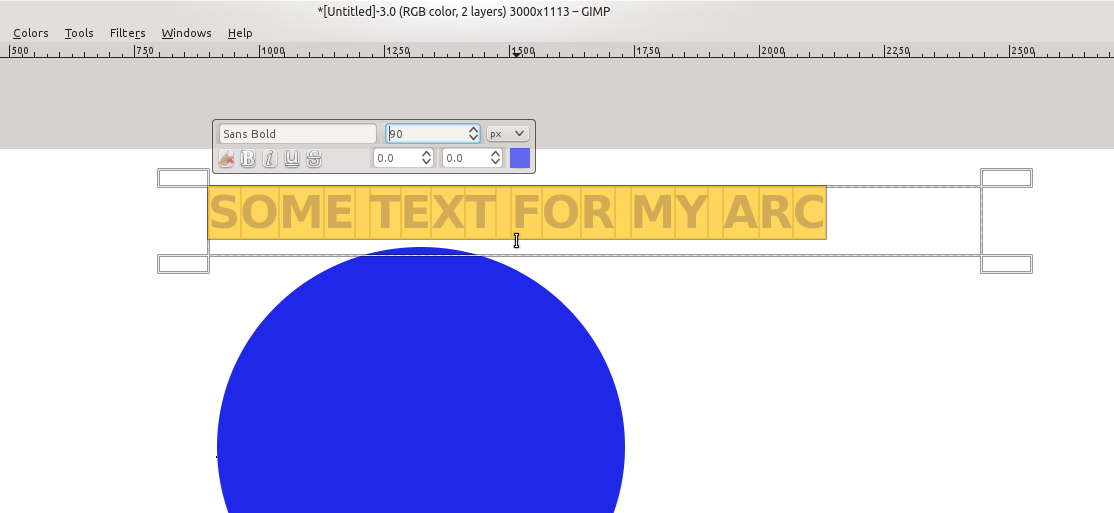
- There are some important things to address at this point. The color of your text doesn’t matter, but the size does. You’ll want to make sure your text is large enough so that, when you try to wrap it around your arc, it covers the full distance around the arc. I’ll come back to how to test this in a minute, but go ahead and fiddle with this for a few minutes until you get the text size to where you think it should be. You can always adjust it later. You’ll also want to make sure you’ve got the right font.
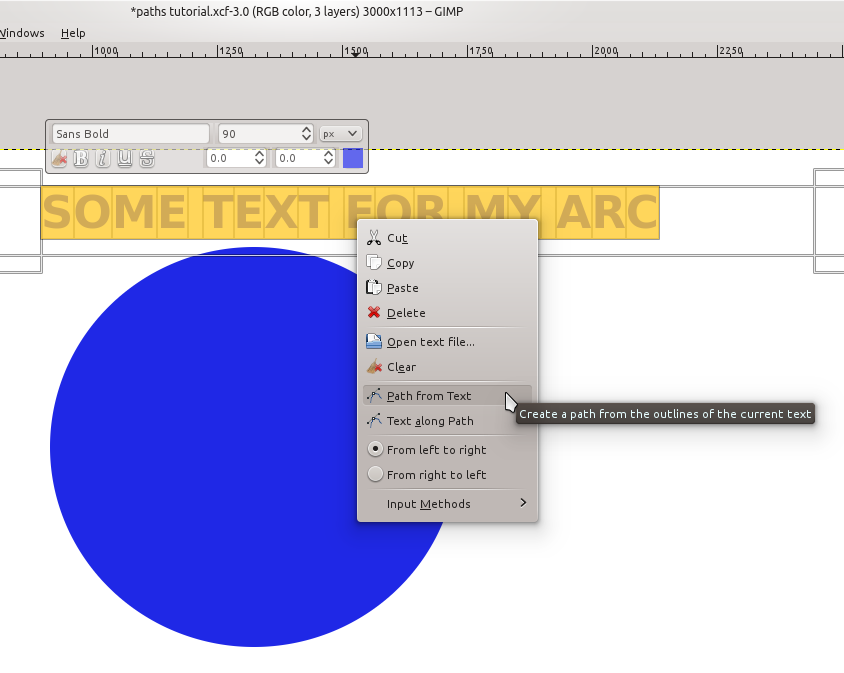
- Once you’ve got your text ready, highlight your text in the text box and then right-click it. You’ll see an option that says “Text along Path”. That’s what you want to select as it is going to wrap your text to the path you just created. There’s a hint in the information that pops up when you hover over that option – the text will be wrapped around the currently active path. Since we only have one path, that doesn’t matter. But, like with layers, you can create multiple paths and simply select the active one you want to use in the “path dialog” window:
- Once you click that option, you should see your text wrap around your circle, like this:
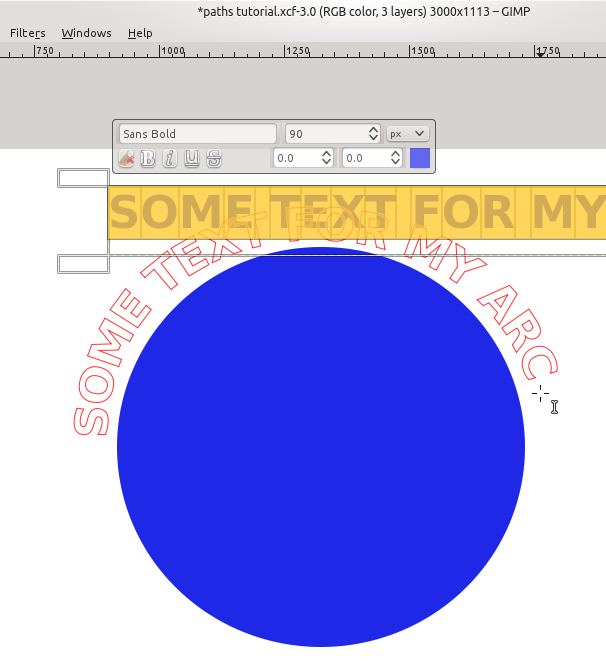
- Hopefully it looks how you want it to. If not, there are a couple of options. First, if the text doesn’t make it all the way around (like mine, but I don’t care for this tutorial), increase the font size. If the text goes too far, decrease the font size. If the text looks misaligned, then you’ll have to go back up to the paths dialog tab in the “Layers – Brushes” window, delete the path you created earlier, and try again (start at Step 9 above). You can fiddle with the arc or path as long as you want until you’re satisfied. So, make sure the text looks good before going on to the next step.
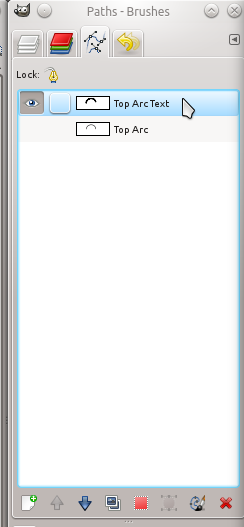
- Once you’re happy with your wrapped text, the next step is to turn that text into a layer. Just so you understand how GIMP thinks about paths, they aren’t layers. They are really separate. They don’t function like layers. You can show them or not show them, but they won’t show up in your final image. They are completely separate from layers. When you wrapped that text to the path you created, you actually created a new path. You didn’t bend your text. To verify this, click on the “paths dialog” tab in the “Layers – Brushes” window and you’ll see a new path. You can rename this as well. I renamed mine to, “Top Arc Text”.
- What we want to do with our text arc is turn it into a layer we can display in our final image. This is the tricky part. First, create a new transparent layer by going to “Layer -> New Layer”:
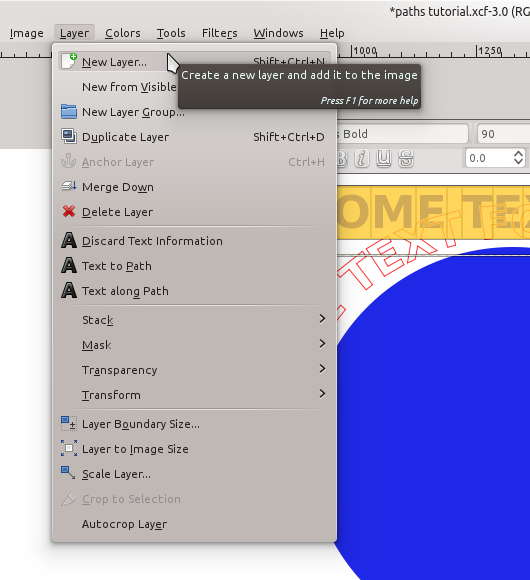
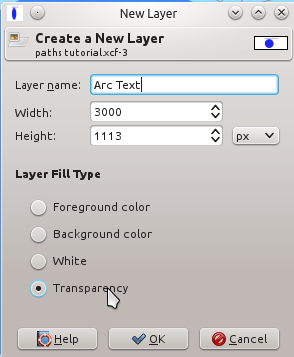
- You can call this your “Arc Text” layer. Choose “transparency” as the “Layer Fill Type”:
- Now, just to make things a little easier, go ahead and click on the eye next to the text layer in the “layers dialog” window, so the text box goes away.
- You can also click on the eye next to the background layer, so all you can see is the newly created path on a transparent background layer. Remember, you can’t think about the paths as layers. You can make paths visible or not, but they are separate from layers.

- Next, select your newly created transparent layer in the “Layer dialog” window, then click on the “path dialog” tab and select your newly created path made out of the text. You’re going to right-click on the newly created path and look for the “Path to Selection” option:
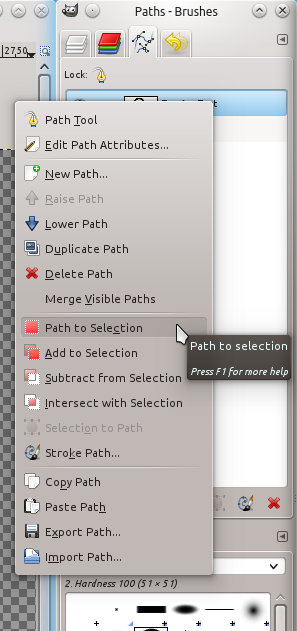
- That will select your newly created path on your new transparent layer. Now, fill that path with a color, either foreground or background, by going to “Edit -> Fill Selection with FG/BG Color”. I filled mine with red:

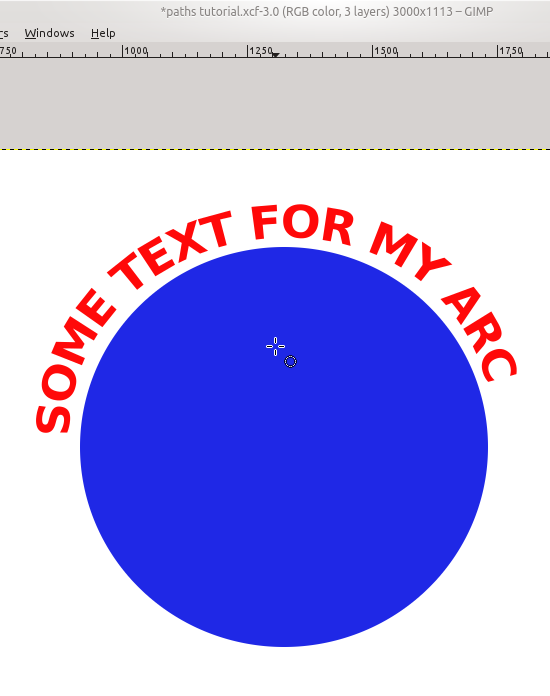
- What you’ve done is now filled the text path onto your new transparent layer so you can treat the text as a layer. To test this, do the following: (a) Click on the eye next to the text path in the paths tab, so the path is no longer visible. (b) Click on the “Layer dialog” tab in the “Layers – Brushes” window. Make sure that your transparent layer is selected and that it is visible by selecting the eye. (c) Choose your “Ellipse Select” tool from the toolbox and click anywhere outside the currently selected path to turn off all selections. (d) Then make your background visible by selecting the eye next to it. What you should see is your background with text around the circle, like this:
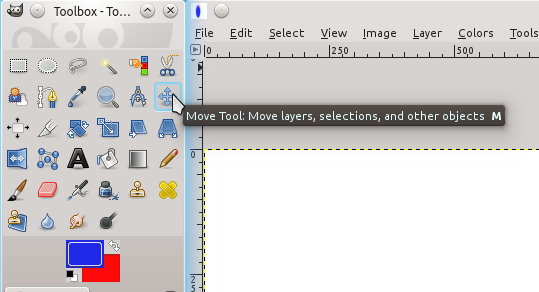
- You can then choose your “Move Tool” from the Toolbox:
- You can now move your new layer around like any other layer. And there you have it. You have wrapped text in an image in GIMP.
NOTES:
As noted above, you don’t have to just wrap text in an arc. You can create all sorts of paths and align text to them. I drew on this tutorial to figure this out.
![]()
