My university, The University of Tampa, is great in a lot of ways. But one thing the university fails at quite miserably is in its support of anything other than Windows. The IT department does okay in supporting Mac computers, but they don’t support Linux at all. I had to get permission to wipe my laptop and install Linux on it. I don’t have a problem managing all my own software and such, since I do that myself anyway and am quite happy that I don’t have to deal with all of the software IT puts on faculty computers (making them run super slow!). But one area where the lack of Linux support is occasionally problematic is when it comes to logging onto the wireless networks on campus.
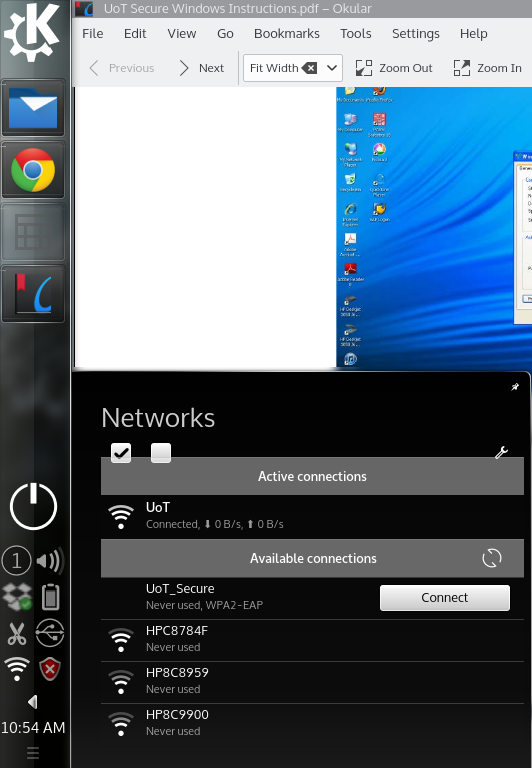
There are two wireless networks. The first doesn’t use authentication to connect to the network, but you have to log in via a webpage once you connect to the network to access the internet. That network is considered the “unsecure” network and the SSID for it is: “UoT”. A faster and more reliable wireless network is available for faculty and staff as well. The SSID for that one is: “UoT_Secure”. The problem with the UoT_Secure network is that it is WPA protected with PEAP authentication. The IT department provides information on how to connect to the UoT_Secure network for Windows and Mac computers, but not for Linux computers (or Android phones). It isn’t that complicated, but figuring it out without any guidance can be a real pain since the process isn’t all that straightforward. Since I have to make the necessary changes to my network settings every time I reformat my computer (about twice a year), I figured I’d put some instructions on here to remind myself how to do it and to help anyone else who may have this issue (though, apparently, I’m the only Linux user at The University of Tampa).
The first step is to find a spot on campus where you can connect to the UoT_Secure network (it’s in most places, but not everywhere). Click on your network icon in your taskbar (or use whatever you do to access a list of available wireless networks) and make sure you see UoT_Secure.

Click on “Connect” and you’ll get a window that asks for more information. That window will let you edit the information for the connection. To connect to the network, click on the Wi-Fi Security tab. Where the Authentication drop down menu is, select PEAP (Protected EAP).

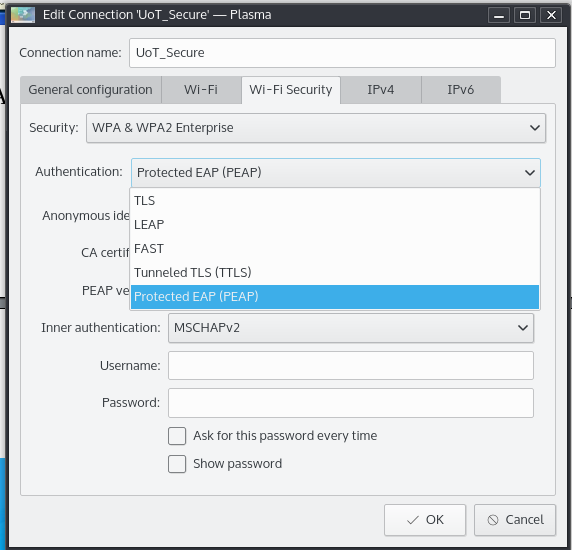
Once you select that, you have to enter your UT credentials for logging into your email account. You enter your username (without @ut.edu) in the “Username:” field and your password for your email account in the “Password:” field. Then select “OK.” Once you’ve done all of that, go back to your Network icon in the taskbar and select “Connect.”

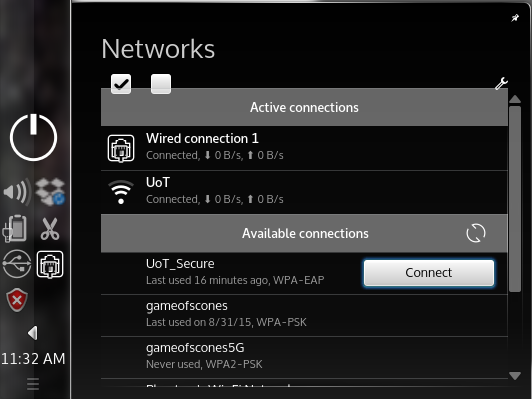
Hopefully, it works!
Now, on to the cell phone.
UT has two wireless networks. Once is a secure network while the other is more of an open network that is a bit easier to access, but doesn’t provide permanent access. It still requires your UT username and password (for your email) that you enter in a web portal, whereas the UofT_Secure network does not require you to log into a web portal once you connect.
Here are the settings for my new Google Pixel Android phone:
Click on the network to connect.
Under EAP method select “PEAP”
Under Phase 2 authentication select “MSCHAPV2”
Under CA certificate, select “Do not validate”
For identity, enter your UT identity without @ut.edu
Leave anonymous identity blank.
Then enter your password and hit “connect”.
That should do it.
![]()
