I’ve been using LibreOffice for over a decade and have only had to do an address label merge twice in that time – both of which have been in the last month. The first time, I actually did a form letter and a label merge; the second time I just had to do an address label merge. In the process, I realized that I totally forgot how to do it after the first time. Whenever that happens, I know that means I need to create a tutorial on here so I can remind myself how to do it if I ever need to do it again. So, here is my tutorial on how to merge labels in LibreOffice. (NOTE: I’m using LibreOffice 7.1.6.2.)
The idea behind a label merge, just like a form letter merge, is that you have a bunch of address information in a spreadsheet or database and, rather than having to enter all of that separately into a document to print labels, you’ll just have the software create the labels from the data you already have. LibreOffice is fully capable of doing this, but it’s not what I would call “easy” or straightforward. And, in fact, the first step will seem unrelated to merging labels, but it is necessary.
Part 1: Register Your Database with the Address Book Data Source Wizard
Before creating any labels, the first thing you need to do is create your database. I’m assuming you have a spreadsheet with addresses, like this one:
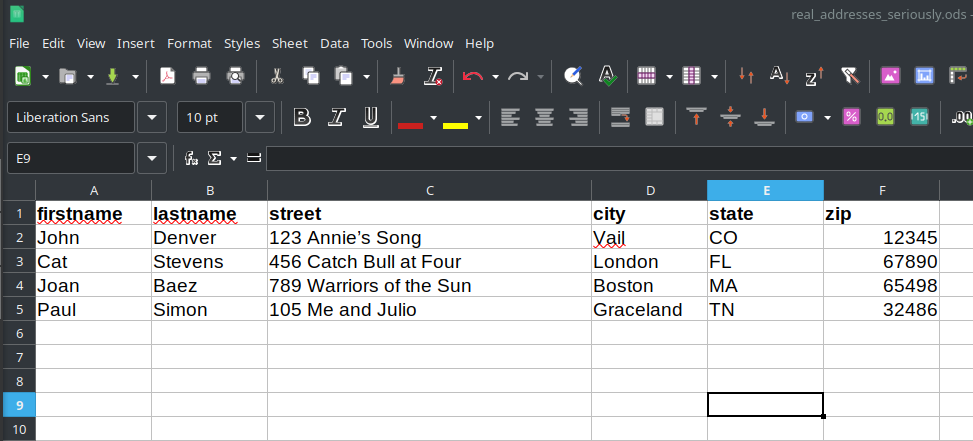
Make sure that you have column names at the top as those can become the field names in the database. It’s always a good idea to separate out your fields like I have done: first name, last name, street, city, state, zip. Of course, if you’re outside the US, your columns will be different. Adjust accordingly.
Okay, now we get to the weird part that is going to seem unrelated to merging these addresses into labels. A quick explanation may help. Basically, you need to turn this list of addresses into a database that LibreOffice has registered so it can then pull those fields when it generates the labels. This isn’t hard to do. LibreOffice will walk you right through it with a wizard. But it seems counterintuitive that you have to do this before you can start the mail merge. Just think of this as getting everything set up.
To create your database, click on File -> Wizards -> Address Data Source:
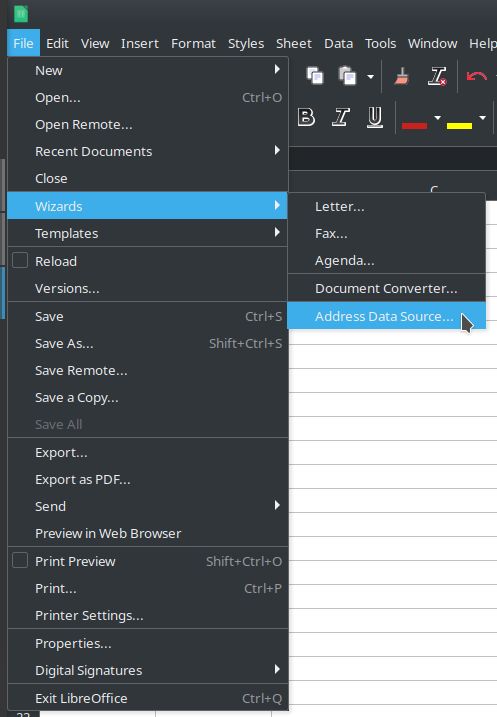
When you click on that, you’ll get this window:
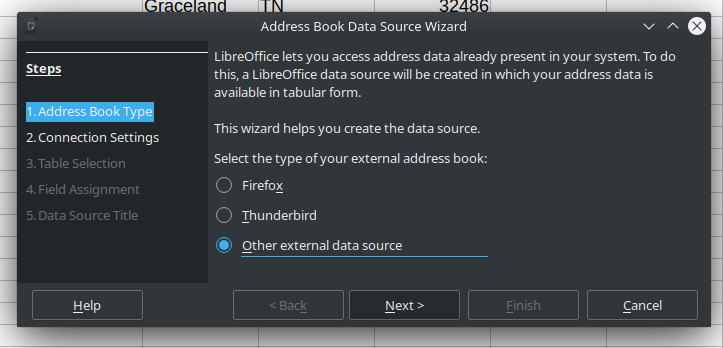
This is Step 1 of 5 for the wizard. It’s basically saying, “Hey, let’s use existing data instead of having to enter new data.” Groovy. That will save us time. Unless you have your address data stored in Firefox or Thunderbird, select “Other external data source.” Then click on “Next” and you’ll get this next screen:
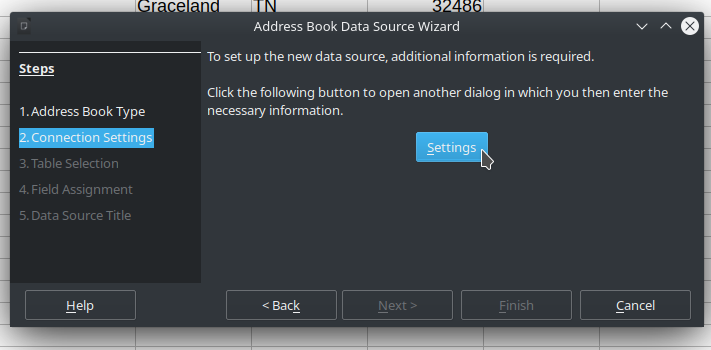
This is Step 2 of 5 for the wizard. On this screen, click on “Settings” and you’ll get a completely separate window:
You have a lot of options you can choose from on this screen. I’m using a Spreadsheet, so I’ll leave that selected. But you can see from this screenshot that you choose from a variety of database sources:
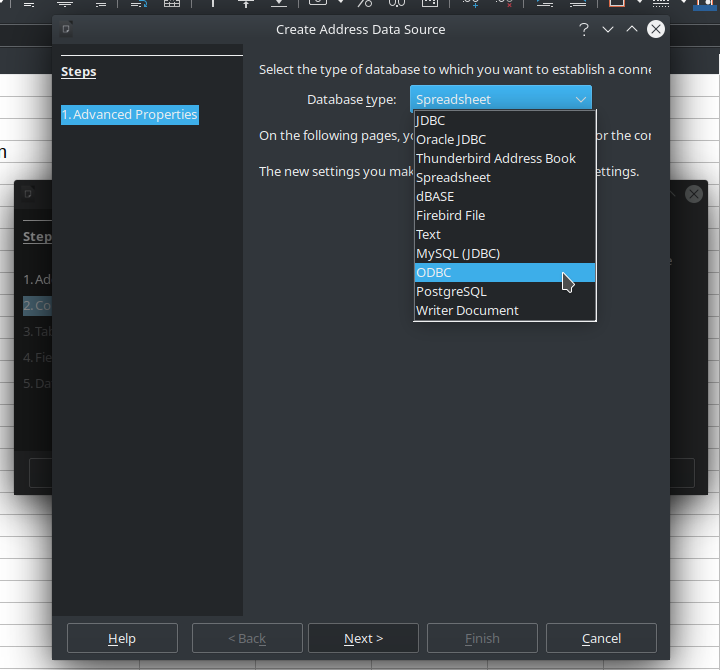
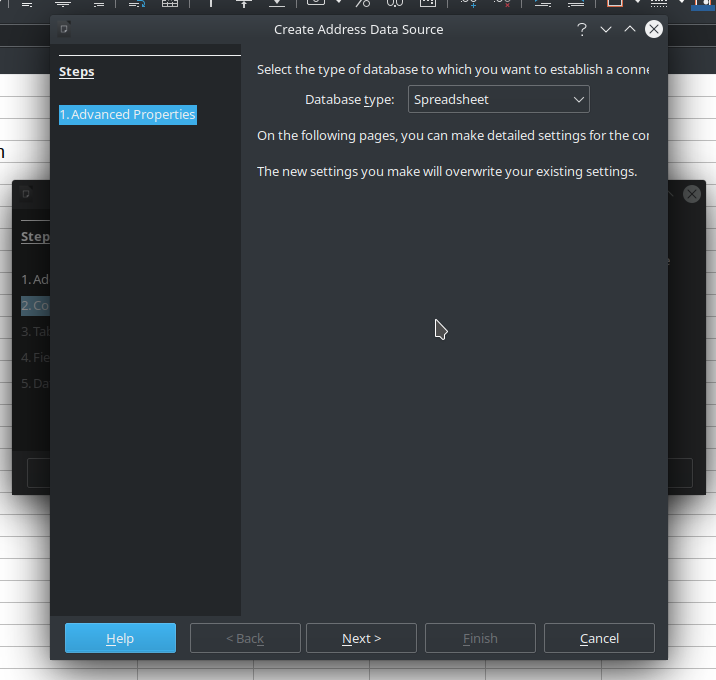
Once you’ve selected the source for your data (again, I’m using a spreadsheet), select “Next” and you’ll get this screen:
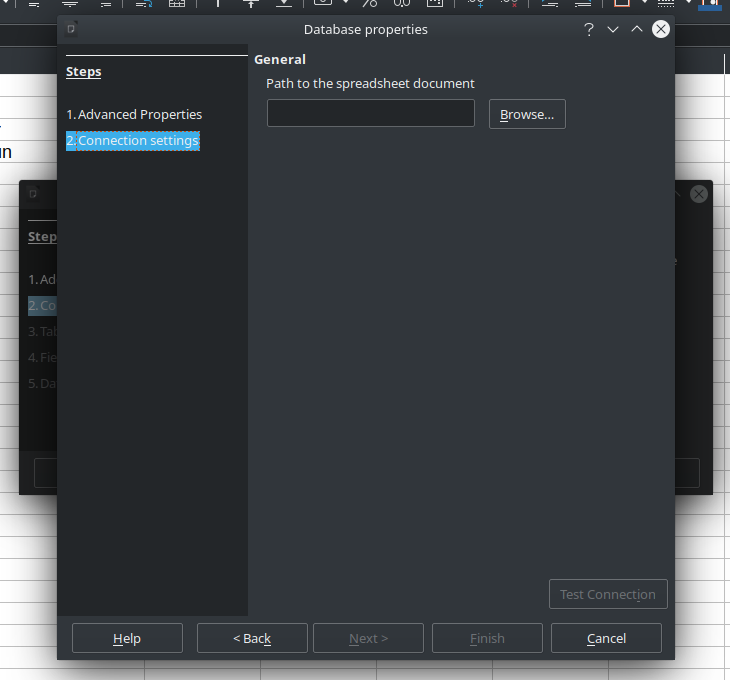
Here, you need to choose your data source. Click on “Browse” and go find the spreadsheet you are going to use, like this:
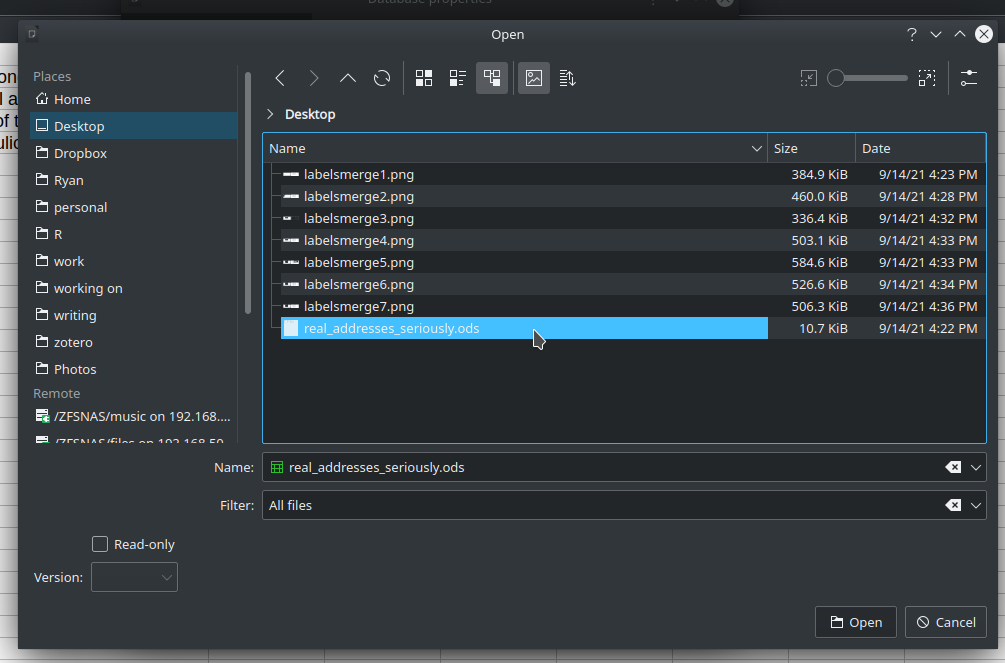
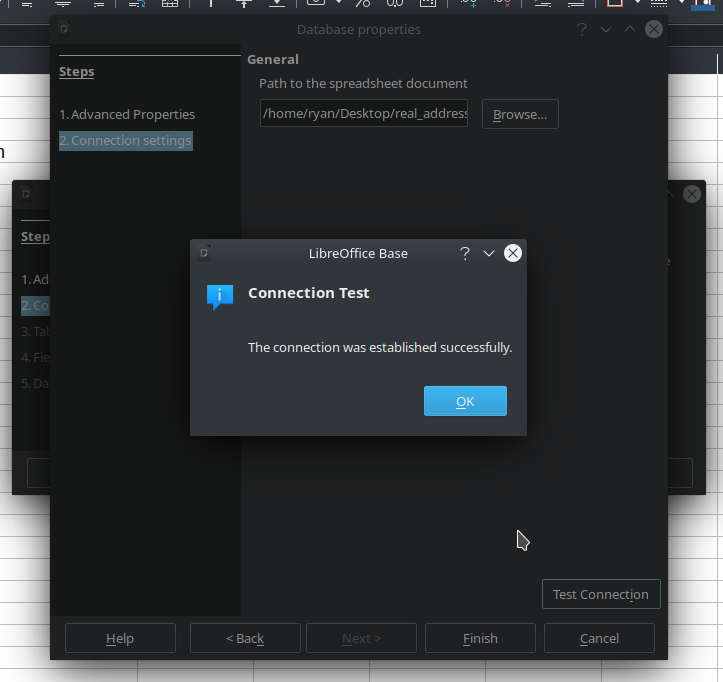
Click on “Open” once you’ve selected it. That will take you back to the previous screen. If you want, you can click on “Test Connection.” Assuming everything worked, you should get this nice but relatively uninformative window:
Click on “Finish” and you’ll go back to the wizard:
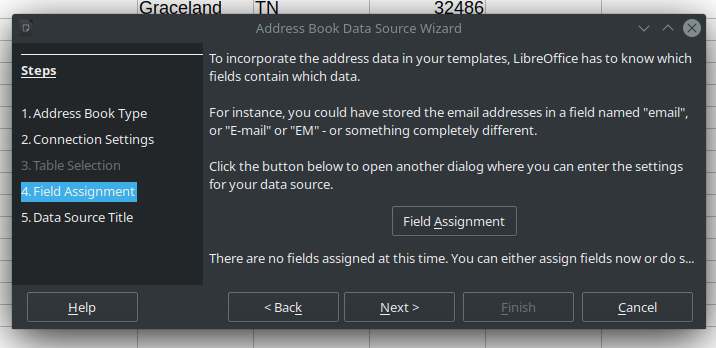
This is Step 4 of 5 (note, Step 3 was skipped because I only had one field in my spreadsheet). On this screen, you can click on “Field Assignment,” which will let you match the fields in your imported data to the fields that are common for addresses. (NOTE: This is not required. You can skip this step if you want. It just changes the names of the fields later.) Here’s what the screen should look like:
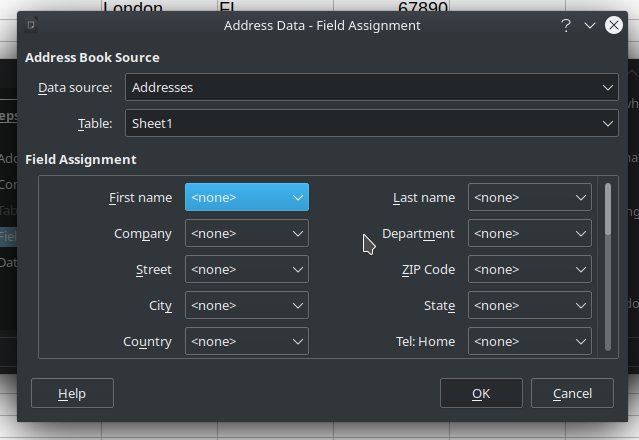
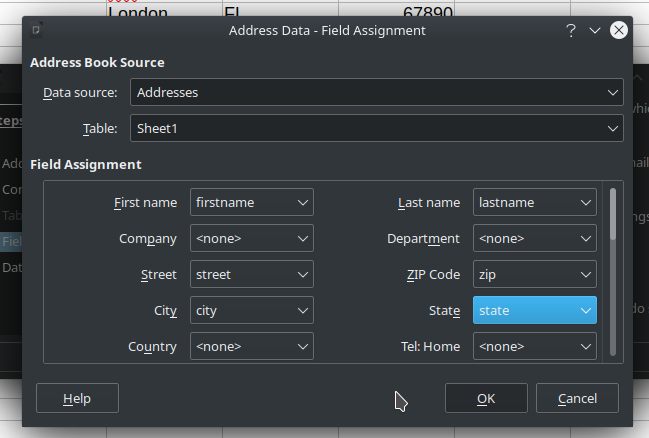
Just to be clear, the Data source field is what LibreOffice is currently calling the newly imported data (in the image above, it just says “Addresses”). You’ll get a chance to change this later. The Table field (mine is called “Sheet1”) is the table in your spreadsheet where the address information was stored. You can then click on the various fields below where it says “Field Assignment” and align your information with the information options given, like this:
Once you’re done, hit OK and you’ll head back to the wizard.
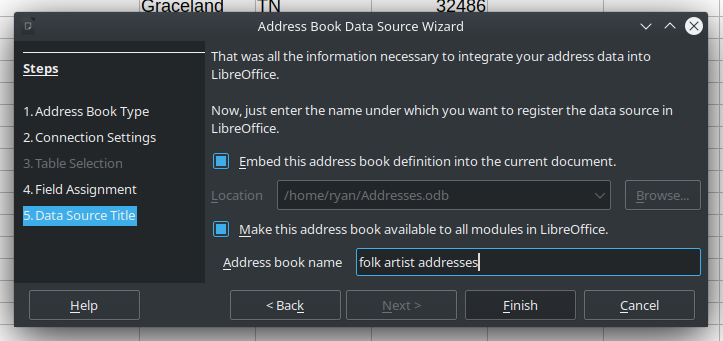
This is Step 5 of 5. Phew. We’re almost done with this first part. You have a couple of options here. The first is a checkbox that says “Embed this address book definition into the current document.” You can unclick that if you want. Alternatively, you can leave it checked and make it part of the spreadsheet you are working on, which is fine. It really kind of depends on what your future plans are with this data. If this is data that you think you will use repeatedly for mail merges and you’ll probably be updating the data in the future, it might be a good idea to leave that checked. The second option is the one you definitely want to leave checked because we’re going to need it accessible for the label merge we’re going to do next. That option is also a checkbox that says “Make this address book available to all modules in LibreOffice.” Finally, you can name this address book. Call it something you’ll remember. I’m going with “folk artist addresses.” This changes the name that LibreOffice had temporarily assigned it (see the screenshot just above this). Once you’ve made your selections and named your Address Data, click “Finish”:
And once you hit “Finish,” nothing, right? Well, isn’t that weird.
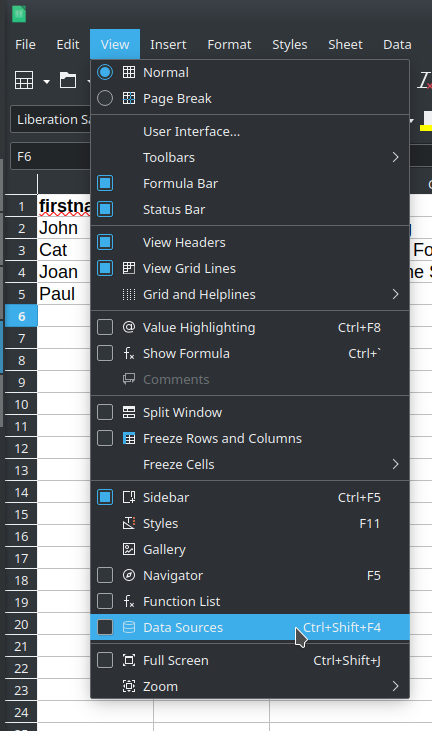
Something did happen, it’s just “behind the scenes.” You have created a database that is now registered with LibreOffice. It’s just not showing it to you. If you want to see it, here’s how. Click on View -> Data Sources:
You’ll then see this:
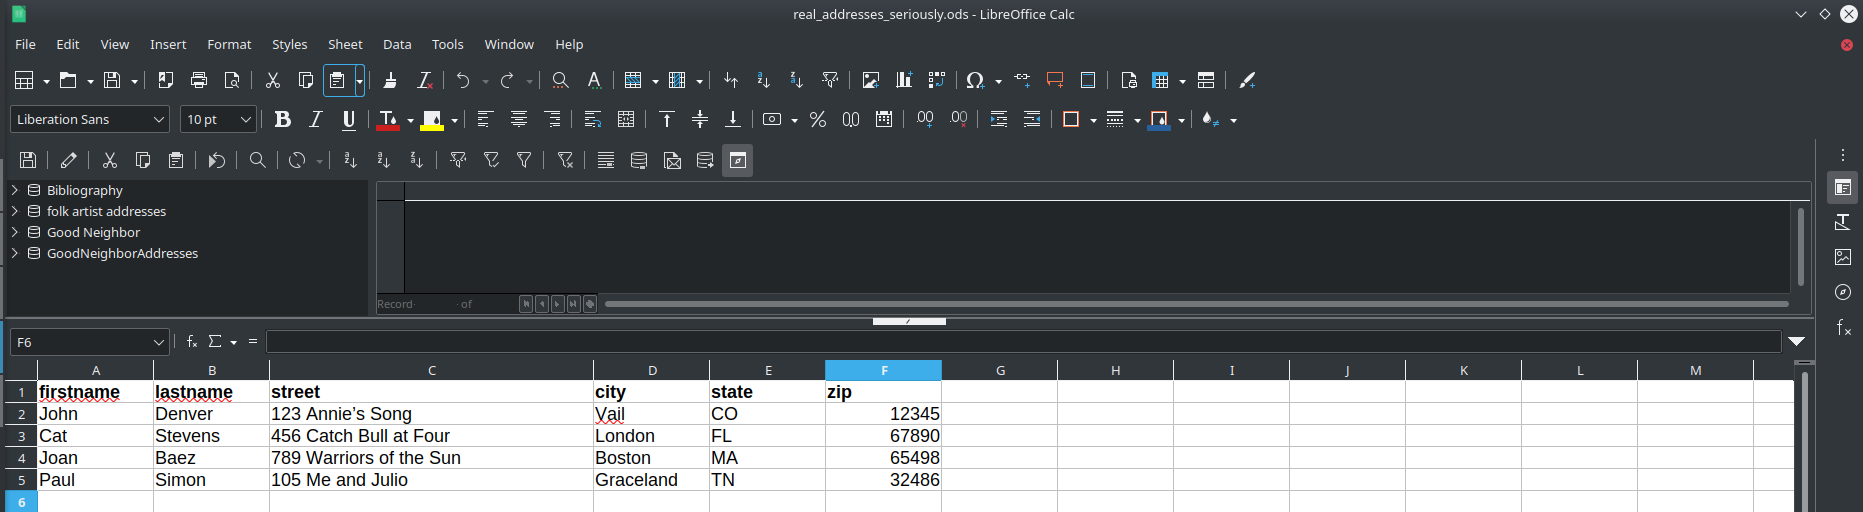
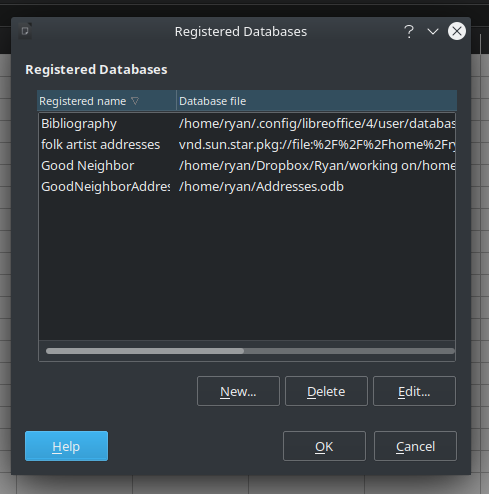
You can see that I’ve got four Data Sources registered with LibreOffice. One of those is, of course, the one I just created: folk artist addresses. You can actually work with those data sources here if you’d like. Or, if you want to delete one (say, you made one by mistake or for a tutorial and you’ll never need it again), you can right-click on any of the databases and you’ll see this menu:
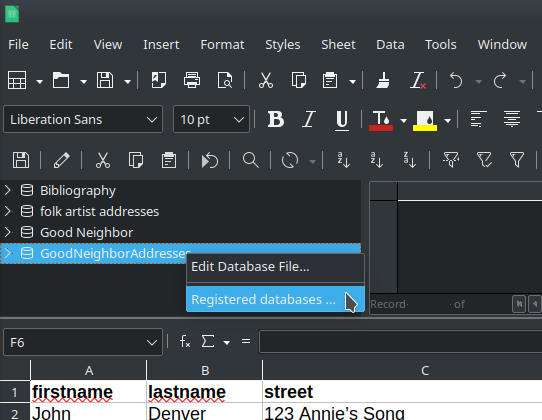
If you select “Edit Database File,” the LibreOffice database software will start up. If you select “Registered databases,” you’ll see a list of your databases with an option to select them and delete them, like this:
Okay. That does it for the prep work and part 1 of the tutorial. Now, with our address book registered, we can actually do the label merge.
Part 2. Label Merge In LibreOffice
Honestly, the first part is the hardest part. This next part goes pretty quick.
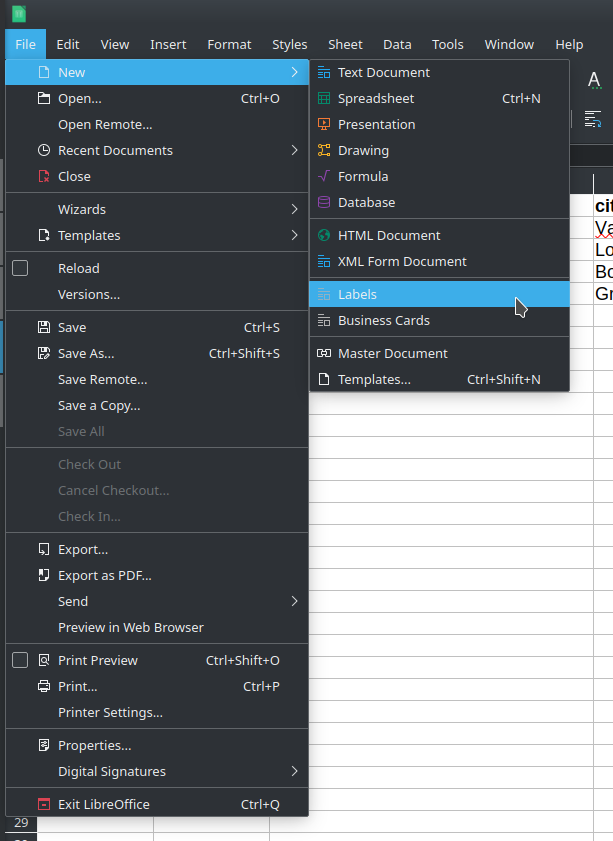
From any document in LibreOffice (it can be a Calc or Writer document; doesn’t matter), click on File -> New -> Labels:
You’ll then see this window:
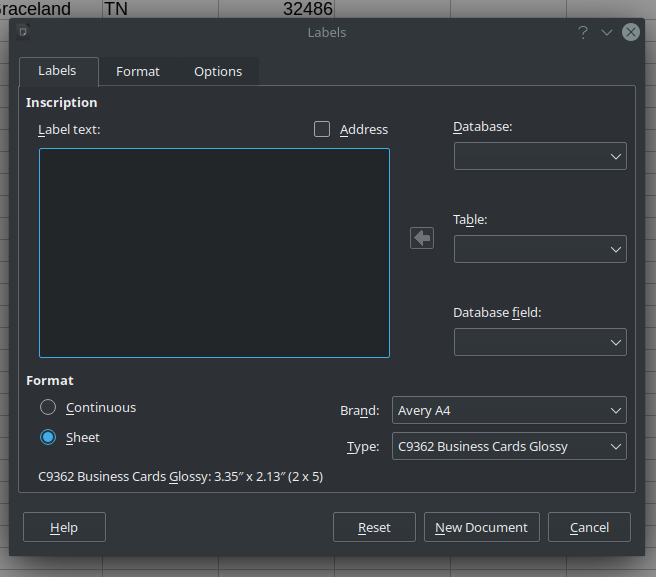
Some explanation is in order. The big box is where you’re going to construct your addresses. I’ll walk you through that. The little check box at the top that has “Address” next to it is kind of nifty. If you’re a good LibreOffice user, when you first installed the software, you’ll click on Tools -> Options and fill in your User Data:
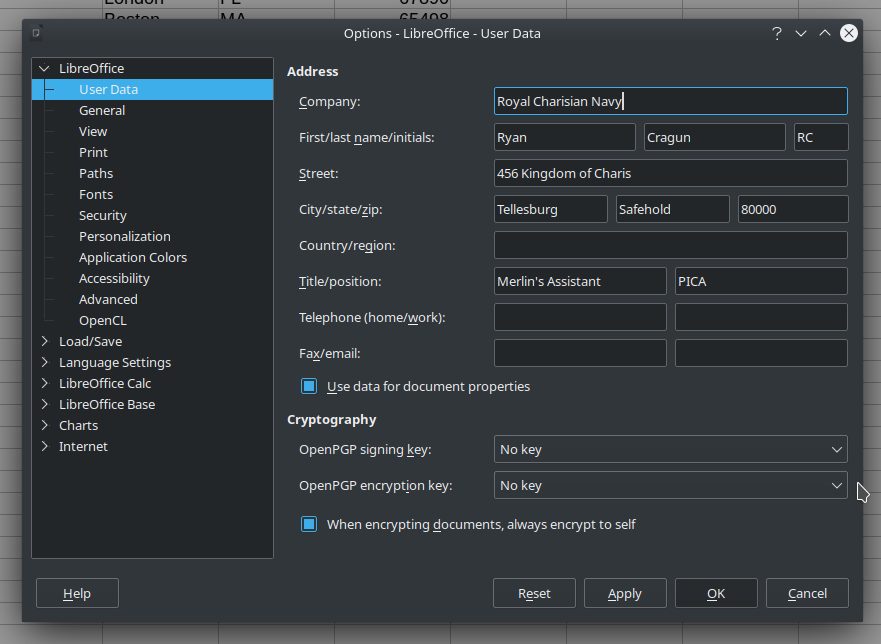
If you actually did that, you can click that little check box by “Address” and you’ll see your information populate the field:
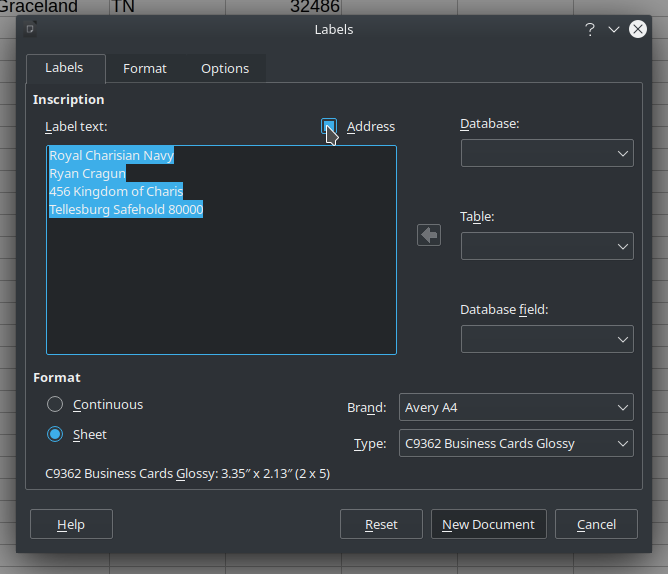
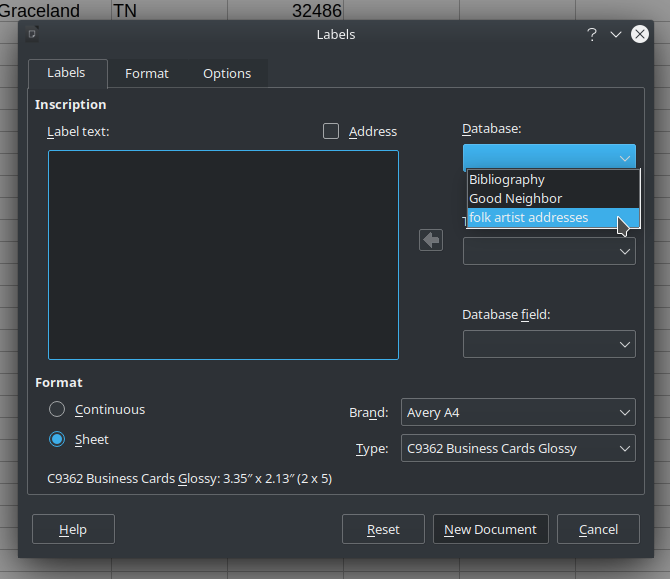
This is a really slick way to, for instance, create business cards. But that’s not what we’re trying to do. So, uncheck that box and let’s get to merging some labels. First, in the drop down menu under “Database,” select the database we just created (and now Part 1 makes sense):
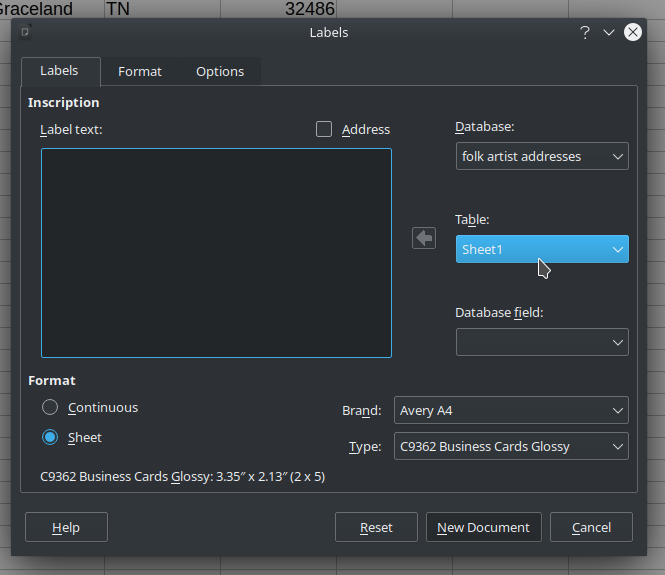
In the drop down menu under “Table,” select “Sheet1” (it’s the only sheet we had; we could always have named it something else). So, your window should look like this now:
Next, we start working with the drop down menu under “Database field.” In that menu, you should see all the fields you had in your spreadsheet:
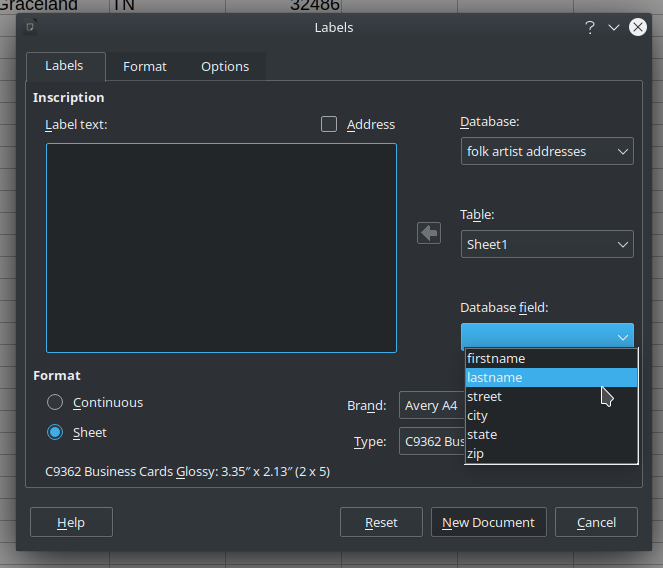
Let’s build our address label. Select “firstname” then click on the little arrow pointing left:
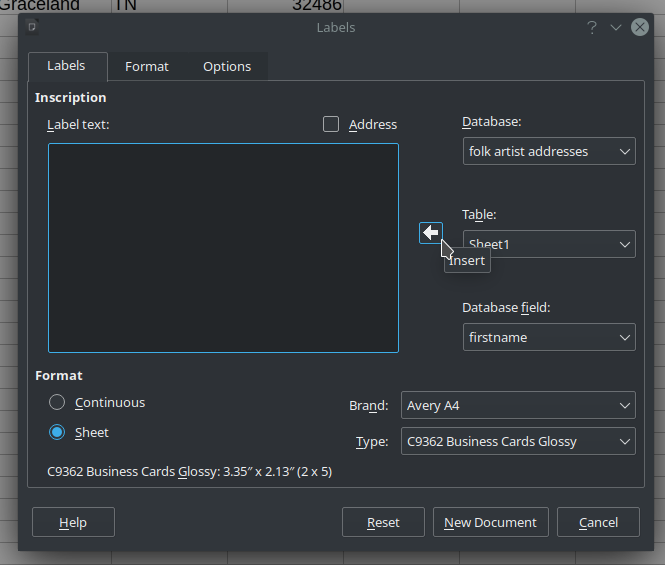
That will insert that field into the label box, so you’ll see this:
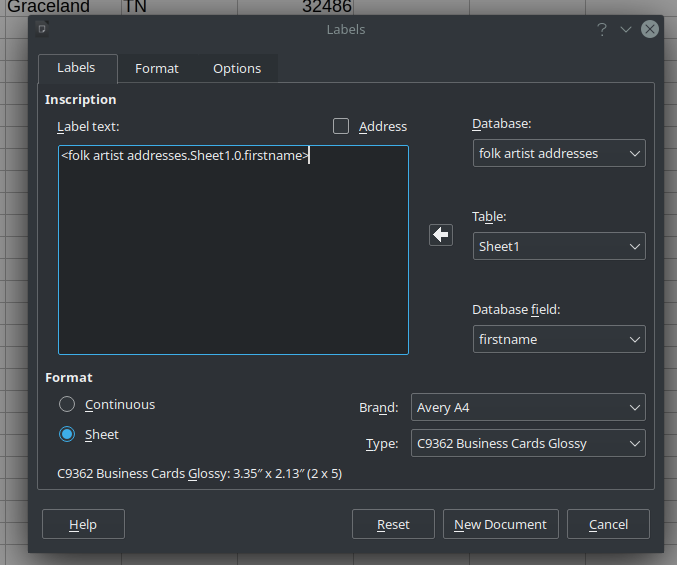
Now, build the rest of your label, keeping in mind that you’ll want to add spaces and punctuation in between the fields, so it looks like this:
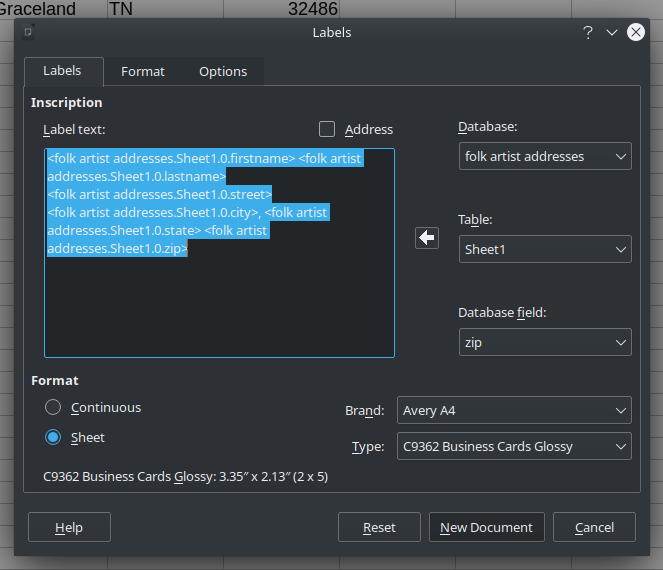
Once you’ve got it set up how you want it, we have a few other things we need to do. At the bottom, you need to choose between “Continuous” or “Sheet.” I’m assuming the Continuous is for printers that can print on labels that are connected. I typically print on individual sheets, so I select that. On the bottom right, find the “Brand” you want and then the “Type.” (Honest Aside: LibreOffice doesn’t always have every option I need for this, but you can usually find something that will work.)
We’re almost done. At the top of that window you’ll see two other tabs: “Format” and “Options.” If you want to customize the dimensions of your label, click on the Format tab. I rarely use this option, but it might be useful if you have a custom label you want to print. There is one thing on the “Option” tab that you probably want to select: “Synchronize contents”:
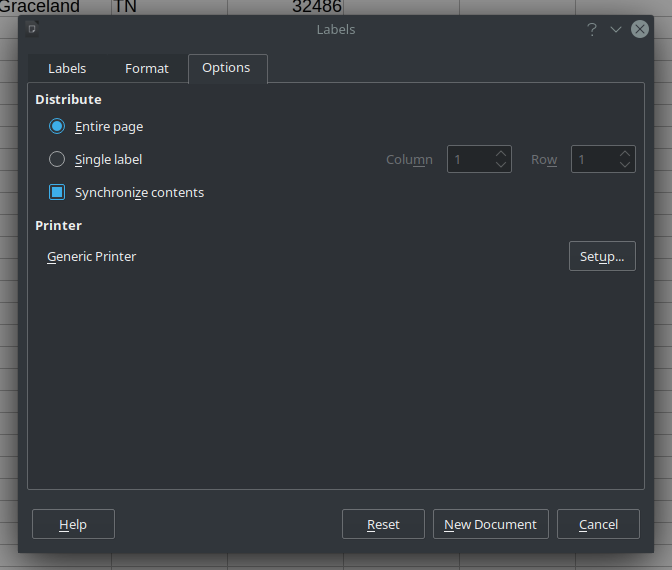
This will allow you to synchronize any formatting you do to the labels later. Trust me, you’ll want this option like 99% of the time. Once you’re done and have your label selected, click on “New Document” at the bottom.
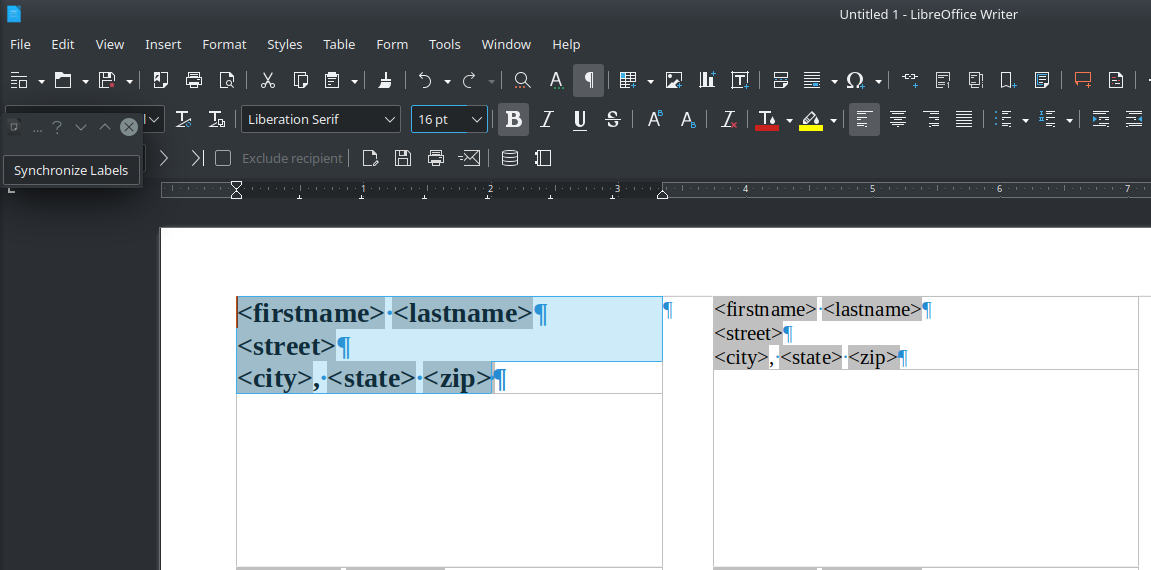
You’ll then get an entirely new Writer file with labels spread out across the document and your fields highlighted in gray:

What you won’t see, unfortunately, is the actual data in those fields. That will come later. What you’ll want to do now is customize your label formatting. So, if you want to change the font, the font size, make the text bold or italicized, now is the time to do it. And, do it all in the top-left cell. In my document, I increased the font and made everything bold:
Remember when I said to choose “Synchronize contents.” Yeah, now is when you’ll want that. You don’t have to format every individual label. Just format the first one, as I said. And when you’re ready, click on the “Synchronize Labels” button in the floating window that popped up:
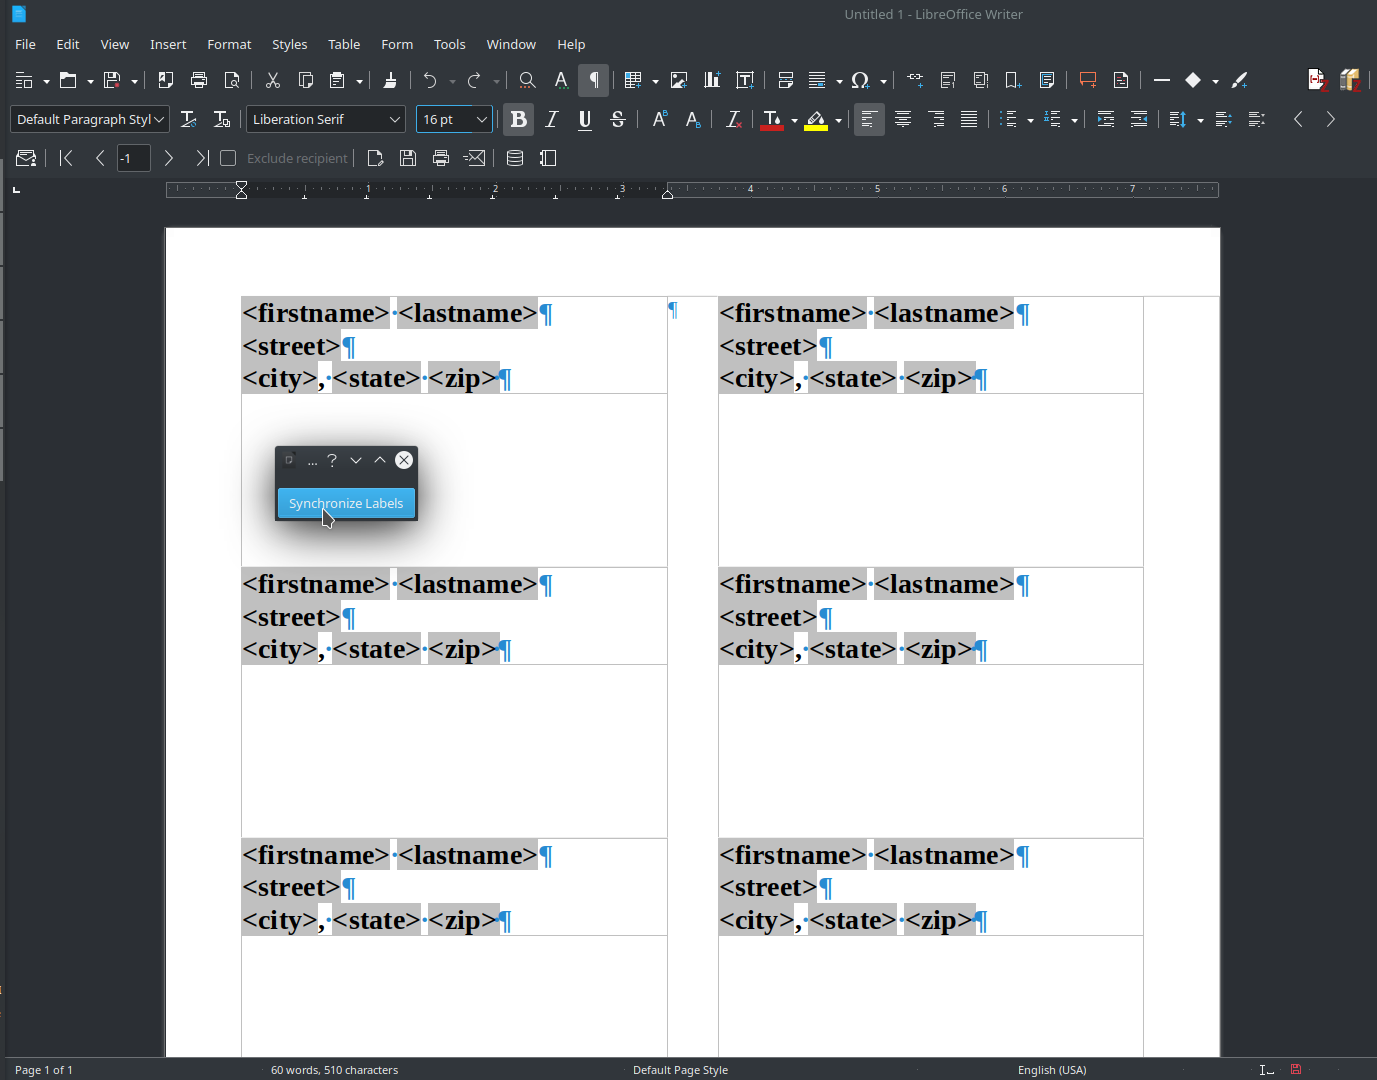
When you do, the formatting from the first cell transfers to all the other labels. Way easier than formatting each cell individually.
Now, to print the labels. This part is also, unfortunately, a little confusing. Click File -> Print or just hit the printer icon on the toolbar and you’ll get this message:
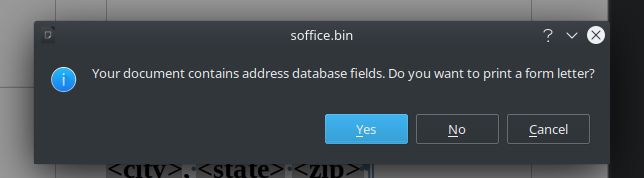
“Your document contains address database fields. Do you want to print a form letter?”
What an unfortunate prompt. We’re doing a label merge, so “No.” But don’t choose No! We may not want to print a form letter, but there isn’t a separate prompt for doing a label merge. So choose “Yes.” (Nudge to LibreOffice programmers – fix this.)
When you do, you’ll get this window:
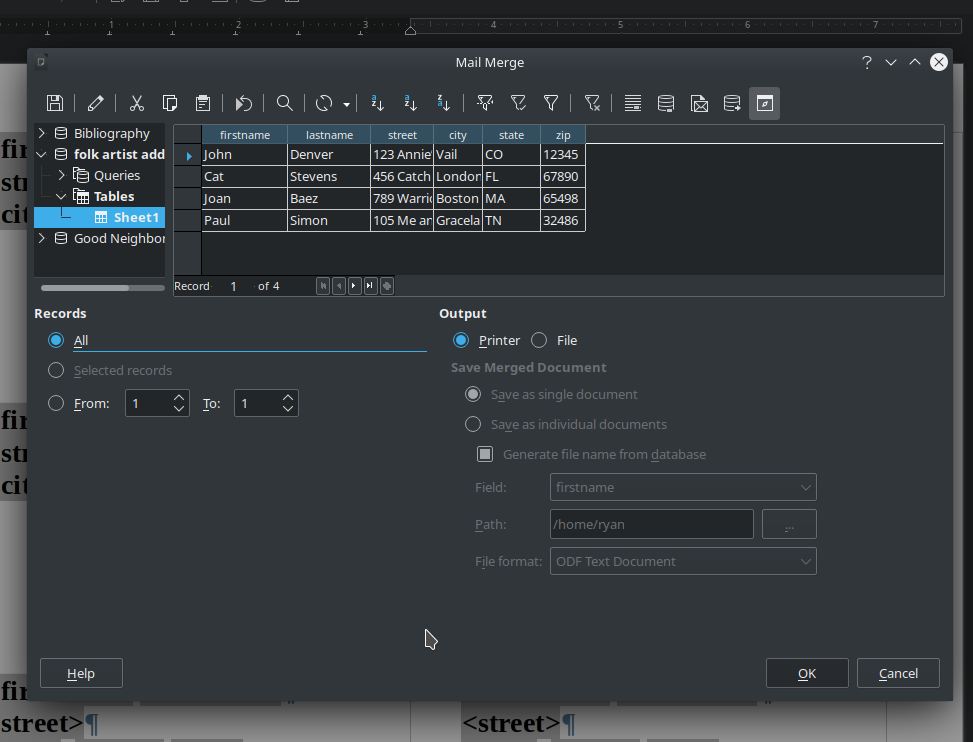
This is a little confusing, but it’s basically that same Data Source window you saw in Part 1, but now we are applying it. You’ll see your Address Data Source on the top left. If you select your sheet (Sheet1 in my screenshot) you’ll see all your addresses. You have a couple of options here. You can choose not to print all of the addresses. This is in the Records option on the bottom left. If you want to test this with a single sheet, for instance, you can choose just the first XX addresses and test this out. On the bottom right, you can choose to save this as a File or send it directly to the Printer. Up to you. If you’re wary and don’t want to waste label sheets, this might be a good option. Or if you need to print these on a different printer, that would be helpful. But if you’re ready to print, select “OK” and you’ll get one more chance to change your mind because you’re finally going to see THE LABEL MERGE! (Woot! Rejoice!):
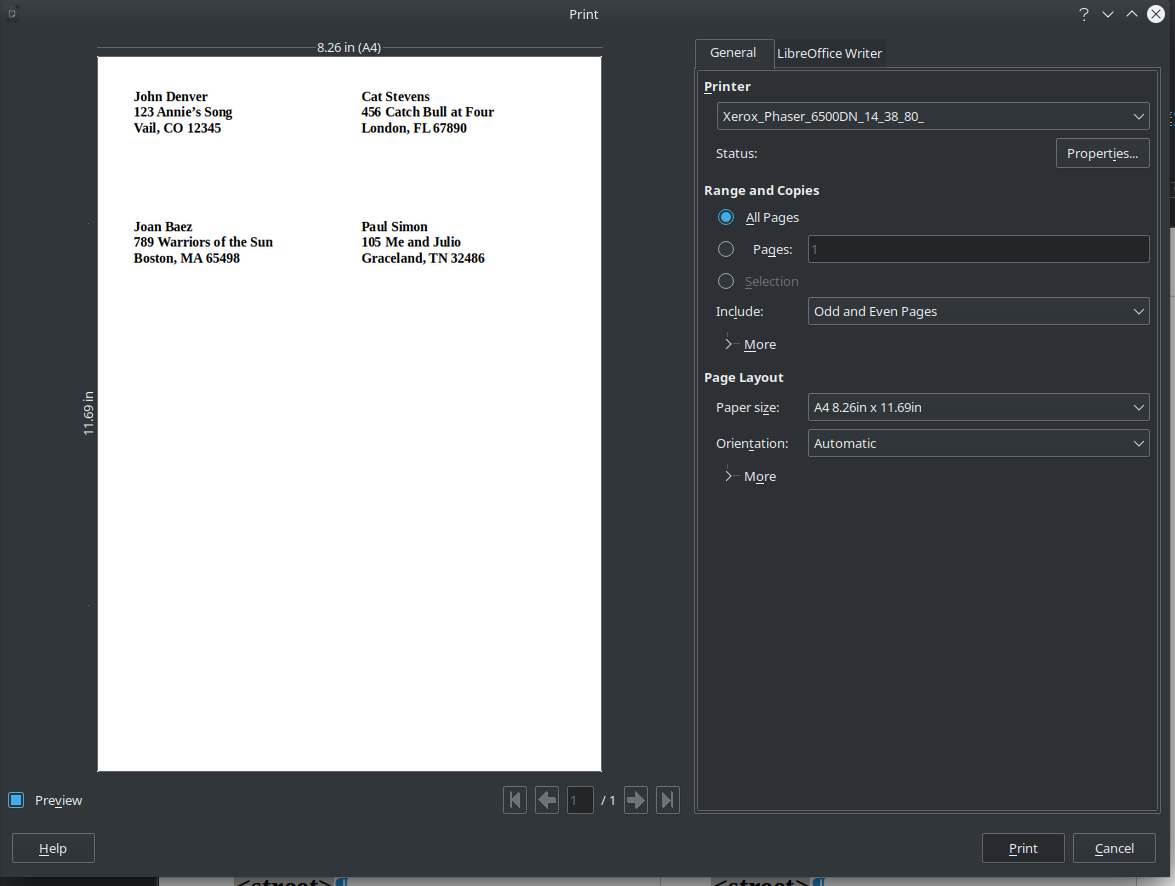
The screenshot above shows you the final window I get before I actually print the labels. And, assuming everything worked correctly, you’ll finally see the address information merged into the labels. Success!
This is not a simple process but there is, as with all things LibreOffice, a lot of customizability, which is why I prefer LO over Microsoft products.
Anyway, that’s how you do labels merge in LibreOffice. And, bonus, if you ever need to use that same address information in the future, it’s already registered in LibreOffice so you can just do this again. If not, you can delete it as I illustrated above.
![]()
