I don’t do this very often, but occasionally I need to write a letter or something of that sort and I want to use an image as a background to the letter. A background image of this sort is often referred to as a “watermark.” (If we’re getting technical, a watermark is really a faint design that is included in the manufacturing process of some paper. But, we’re in the digital age, so, we’re going to consider these background images watermarks as well.)
The problem is that doing this in LibreOffice Writer is not intuitive at all. In fact, I’ve been using LibreOffice for more than a decade and I think I may have finally just figured it out. I write these tutorials when I have just figured something out that seems to work and I know I won’t remember it the next time I need it. So, here we go.
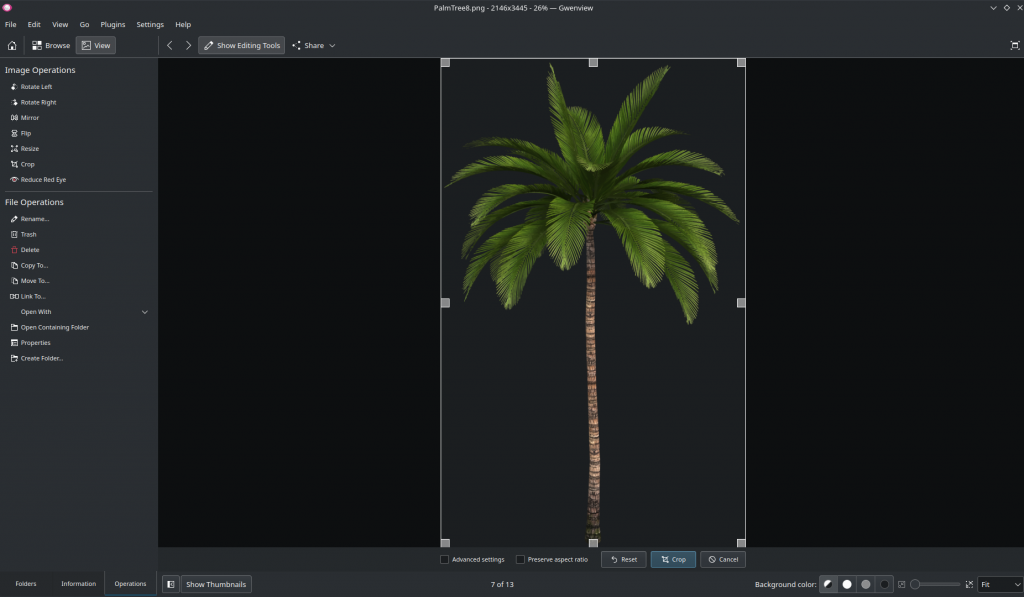
First, before you even open up LibreOffice, make sure your background image is ready. What I mean is, make sure your image is cropped to the size you want (tighter crop is usually better) and is in the format you want (I’m using PNG so I can have a transparent background). I’m using this image of a palm tree (I live in Florida):

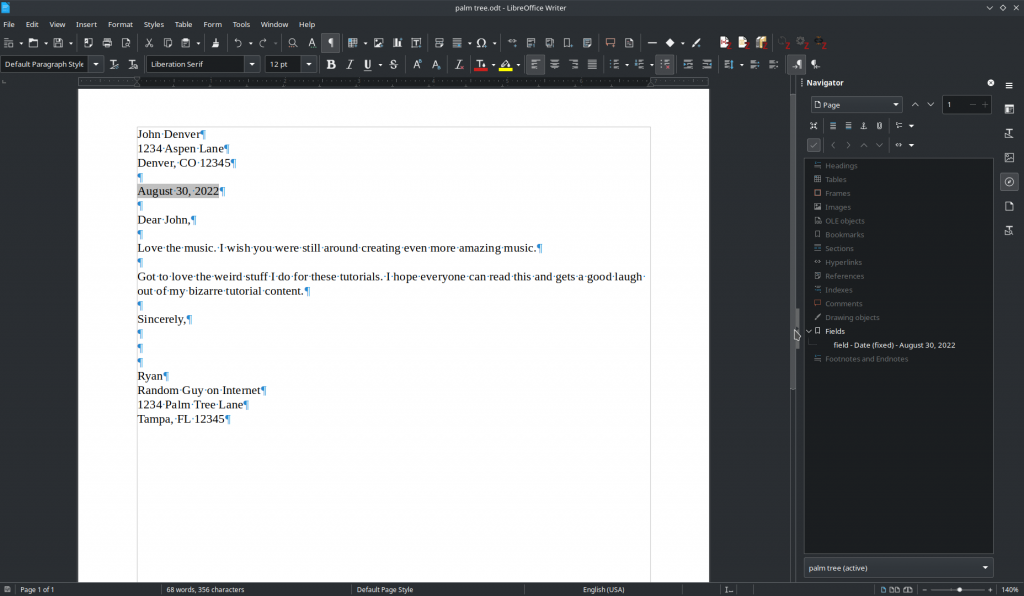
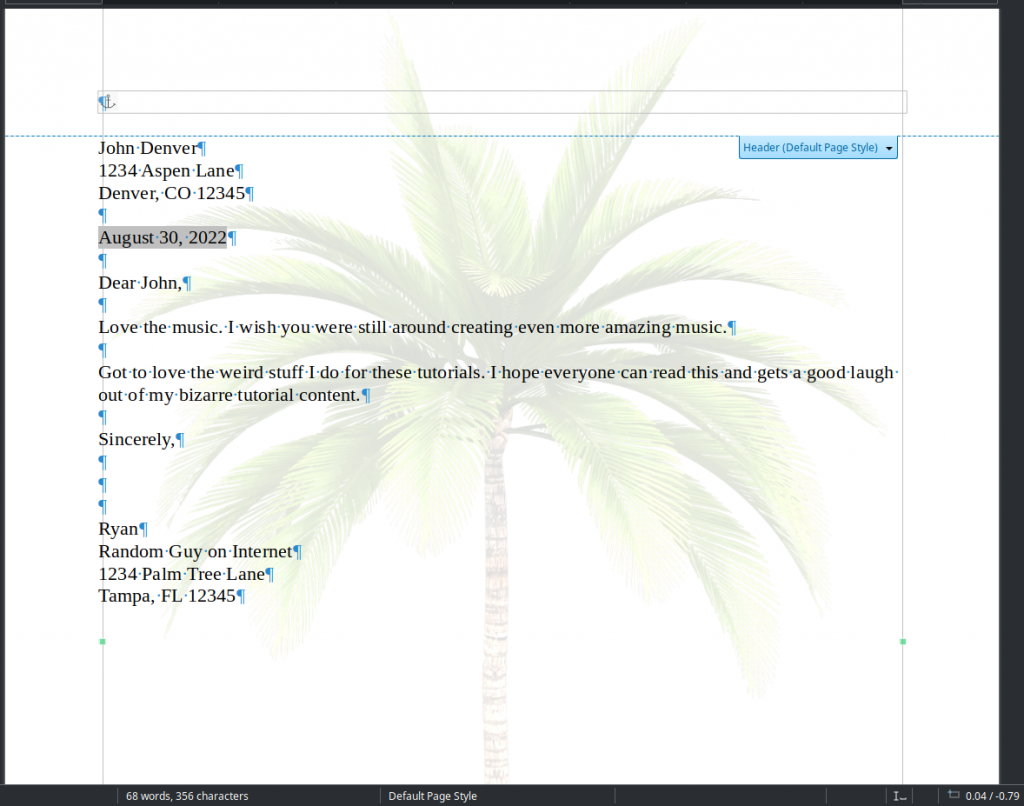
Now, open up LibreOffice Writer. I’m using version 7.3.5.2. I have a fake letter that I’m using for my example:

You don’t have to have the content in the document to do this. In fact, I strongly encourage you to insert the background image/watermark before you add any text. It will make your life much easier. But I’m including it just for the sake of this tutorial.
We’re now ready to add the background image or watermark.
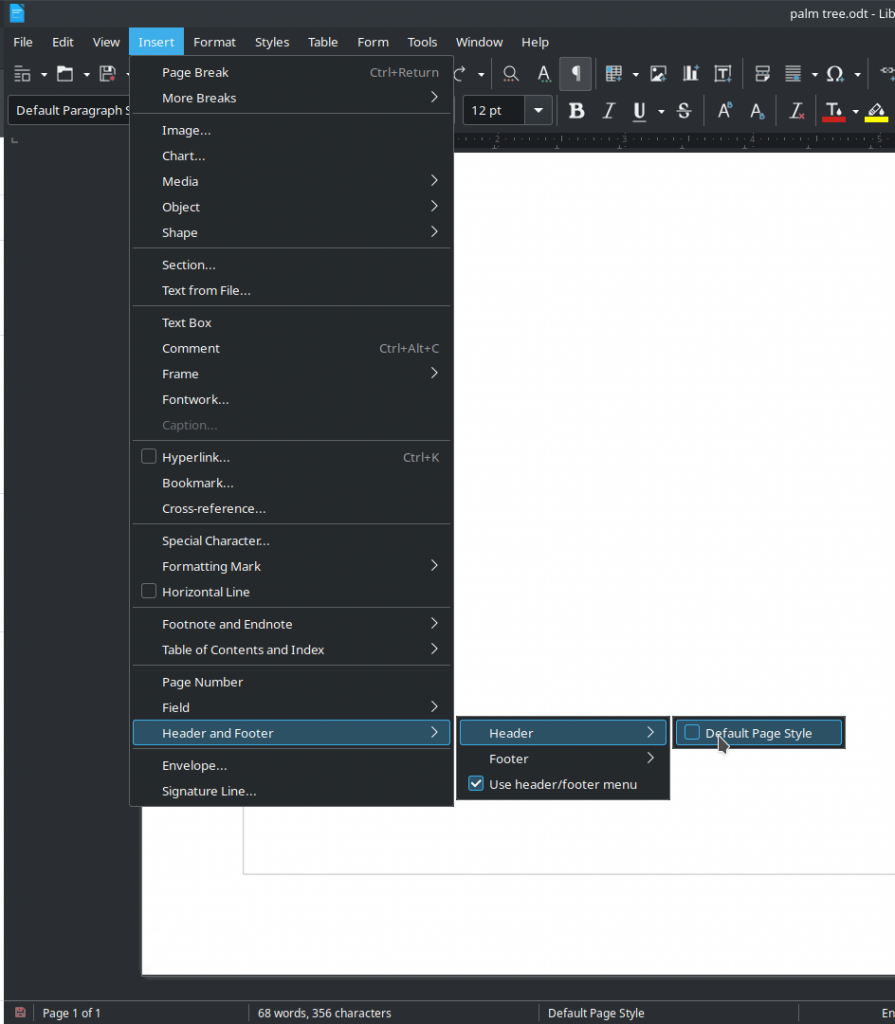
The first trick to this is to realize that, if you want the watermark to show up on every page of your document, you actually need to insert the image in either a header or a footer. If you only want it on one page, then you can insert the image on the page and NOT in a header or footer. The rest of the process is basically the same, but you need to think about this issue before you continue.
I want my watermark on every page. So, I’m going to insert a Header into my document. Insert -> Header and Footer -> Header -> Default Page Style.

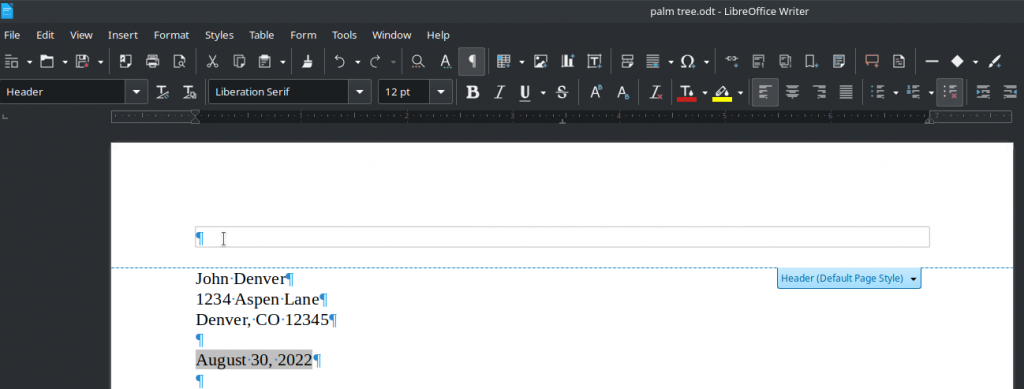
Now, move your cursor to the newly inserted header.

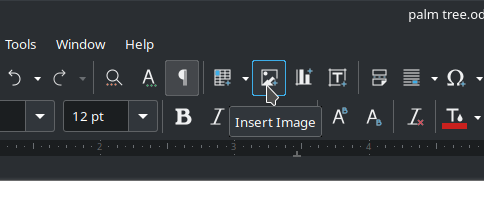
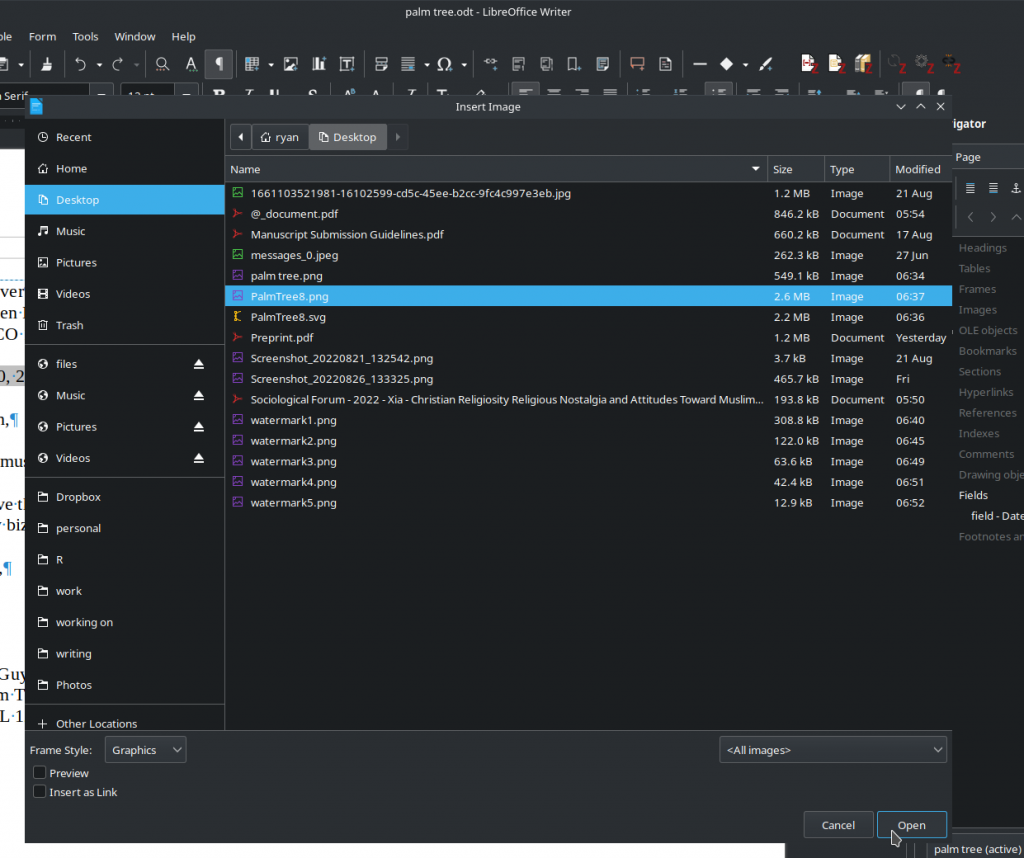
Once there, you can go up to Insert -> Image or click on the image insertion icon on your toolbar:

Find your image in your file explorer and select it, then click Open.

If you didn’t follow my advice above and insert your image before adding any text, inserting that image is going to screw up your document. It will move the text around, screw with formatting, etc. Seriously, you should create the watermark first, then add the text. But, if you didn’t, don’t worry about it. Yet. We need to modify the image properties and that should solve most if not all of the problems.
For instance, when I inserted my palm tree, my document jumped from 1 page to lots of pages (several thousand). This is a “wrapping” issue. It’s a problem, but hopefully a temporary one. We’re about to fix it. But this is why I said above that you should insert your background image or watermark before adding any text to your document.
As soon as your image is inserted, right-click on it and look for the context menu. What you want is Wrap -> In Background:
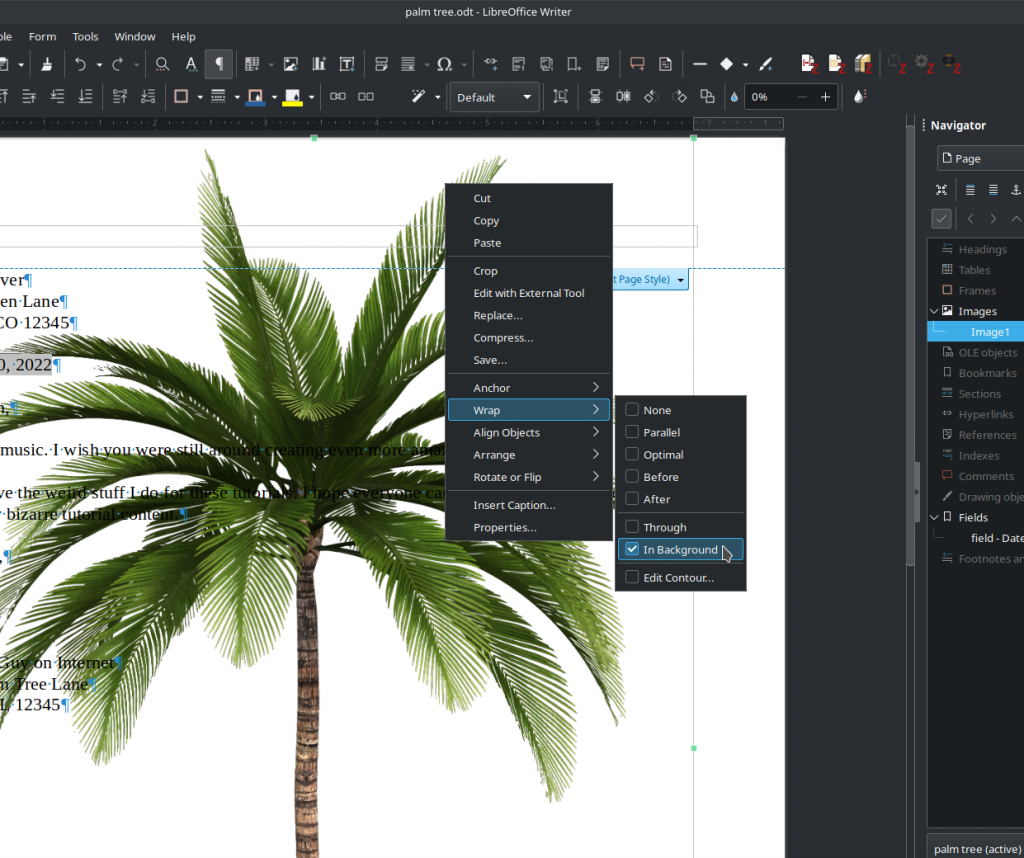
Wrap tells LibreOffice how to orient text around the image. The default wrap is “Optimal.” That tries to wrap the text around the image in specific ways. But we want this image in the background so the text will go right over it.
You may, at this point, need to adjust two other things, but you may not as well. If your image is located where you want it to be, you can skip this part. If not, you should be able to move your image around until it is place where you want it to be. If you run into issues doing this, you may need to change the anchor point. However, do note that one anchor option “To Page” doesn’t show up if you inserted your image in a header. If you inserted your image in the main body of the document (so you only want it on the first page), you can right-click the image and select Anchor -> To Page. That does make it a bit easier to anchor the image wherever you want. If you inserted the image into the header/footer, that option is unlikely to available, so you can leave the anchor as “To Character” and hopefully you’re adjustments to the location will stay in place.
Now, some might think we’re done at this point. We have the image in the document, it’s where we ant, and the text is wrapping right over it. But we’re not, of course, because the image is too intense. We want to soften it. There are a couple of ways to do this, but I believe the correct way is, while the image is still selected, look for your picture toolbar, and look for where it probably says “Default.” That’s a reference to the “type” of image that you have inserted. There are three other options there: Grayscale, Black/White, and Watermark.

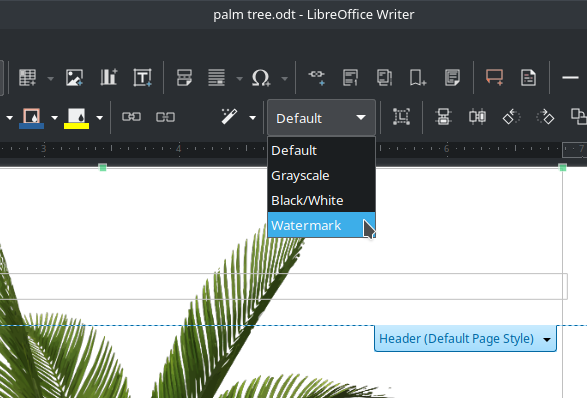
Ooooh! Exciting. LibreOffice has an option for what we’re doing. Select Watermark and you’ll see that your image becomes substantially less vibrant and melds into the background of the image, highlighting the text:

We now have a background image/watermark in our document!
You can stop here, but a little bit of additional advice is in order.
First, that image is still in your document and is probably still selected. To unselect the image, click outside the lines with the green squares and you should get a cursor so you can start typing in your document. By setting the wrap to “In Background,” this also means that you should haven’t any problems selecting text and fighting with selecting the image by accident. So, hooray for that.
Second, if you do need to select the image to modify it at some point, the easiest way is to go to your Navigator in the right-hand toolbar, look for “Images,” and then find your image:
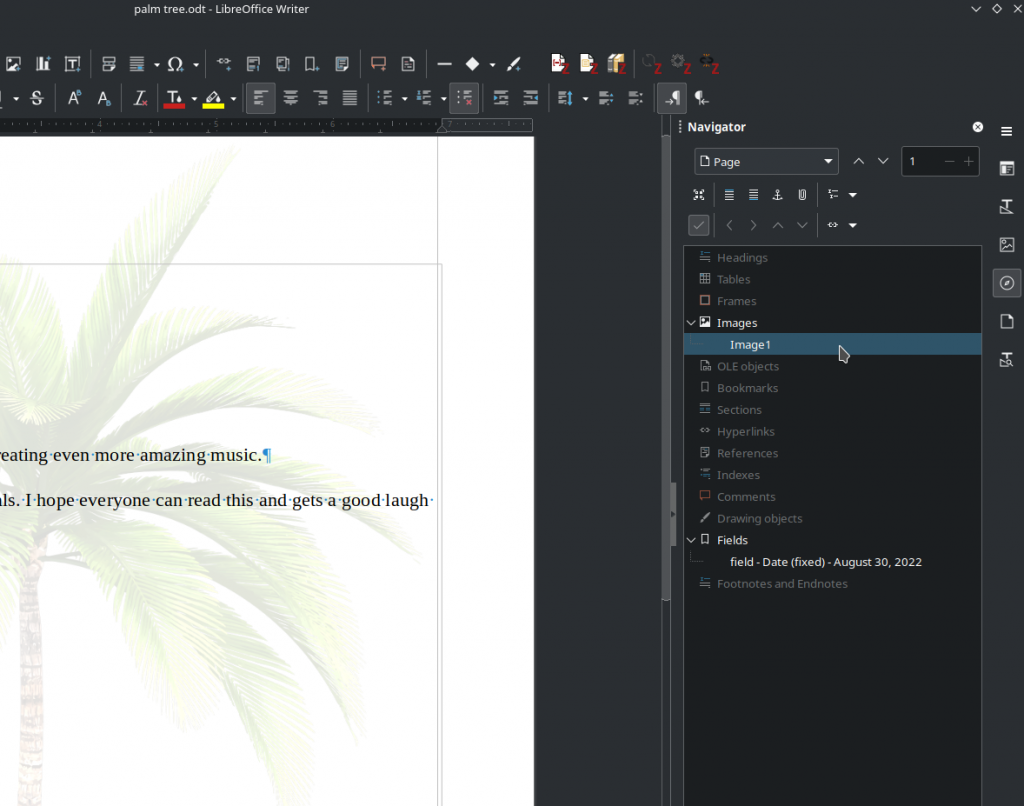
Clicking on your image in the Navigator will select your watermark so you can edit or modify it.
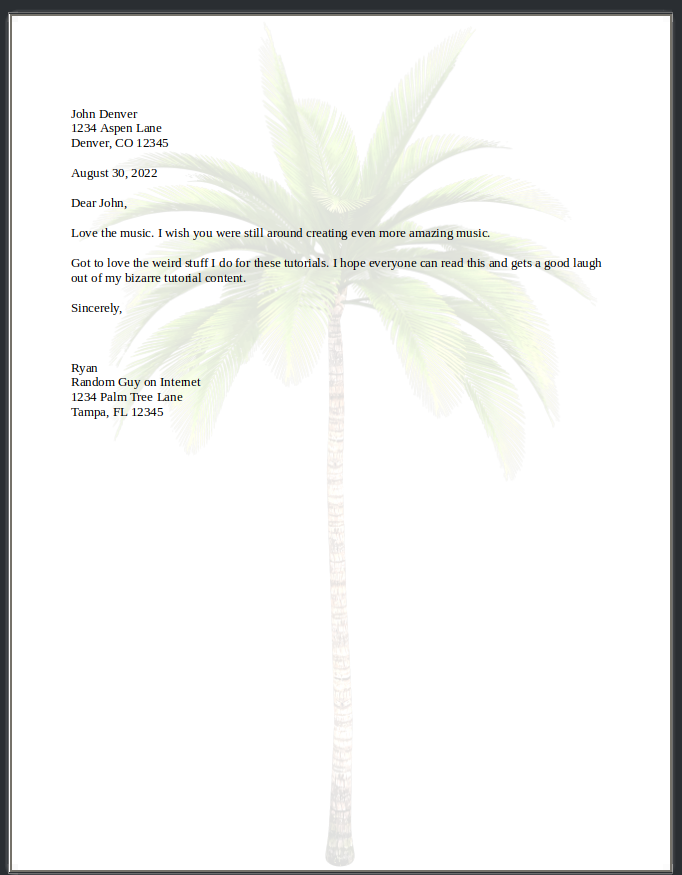
Finally, just so you can see how the final letter looks with my watermark, here’s a print preview of the letter with the watermark:

LibreOffice is fully capable of adding a watermark or background image to your document, but how you do it isn’t entirely intuitive. I hope this tutorial helps.
(Helpful sources that pointed me in the right direction for this tutorial: here and here.)
![]()
