

If you’re using a Synology NAS box and would like to back up your files to offsite storage service Crashplan (which is relatively inexpensive), there is a relatively easy way to do this. However, you need to think about the Crashplan software as having two components. There is the backup engine, or the software that communicates with Crashplan’s servers and sends the files you want backed up to their servers. Then there is the “head” or user interface which tells the engine what to back up and when. If you’re backing up your Synology box, then the engine will go on there. You can use any OS for the head, but I’m running Linuxmint and here is how I got it to work.
1) On your Synology box, first you need to download and install Java SE for embedded packages following these instructions. Then you need to download and install the Crashplan package for Synology NAS following these instructions. Make sure you choose the correct version of Crashplan from the link above. You don’t want to install CrashPlan Pro if you’re just running CrashPlan – it won’t work.
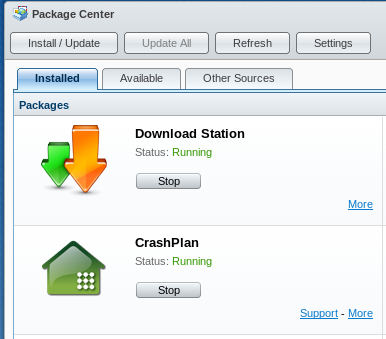
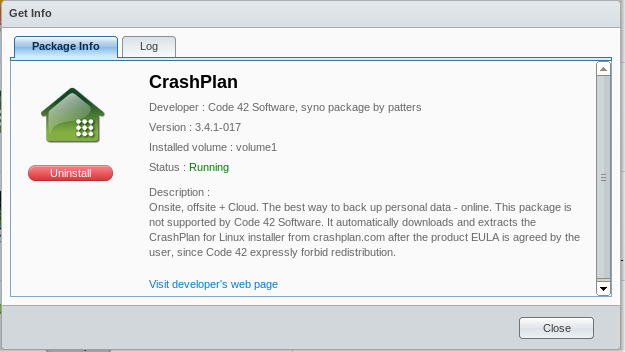
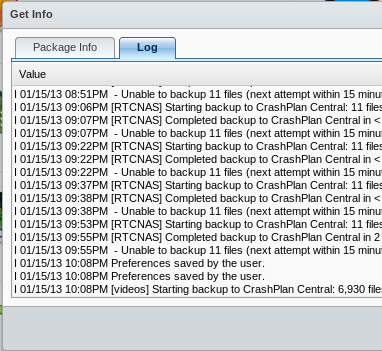
2) Once you’ve got both of those up and running on your Synology box, you should see something like this:


3) The next step is to install CrashPlan on your desktop computer so you can control the engine on your Synology box (i.e., tell it what to backup and when). First, download the CrashPlan software for your OS here. Once you’ve downloaded the .tgz file, uncompress it to a folder (doesn’t really matter where; your’e desktop or home folder will work). Then open a terminal and navigate to where you unpacked the CrashPlan files. At the terminal, type:
sudo bash install.sh
You’ll then need to follow the prompts, but it should install the software on your computer.
4) Now is the tricky part. If you follow the directions on CrashPlan’s website to connect the “head” to the “headless engine” it won’t work. Their directions say to edit the file /usr/local/crashplan/conf/ui.properties by uncommenting the line #servicePort=4243 and changing it to servicePort=4200. You then need to set up an SSH tunnel. Here are their directions. I tried a lot of variations of this and didn’t work. But you know what did? Editing a different line. In that same file, uncomment the line that says #serviceHost=127.0.0.1 and change it to serviceHost=192.168.2.100 (i.e., the IP of your Synology box). Save the file and close it.
5) You should now be able to open the CrashPlan GUI and control your Synology box remotely.
![]()
