I have a VPS server with Linode that I use to host about a dozen different websites. All but one of them run on WordPress. Occasionally, I get a request to add another domain and website to the server. It’s not terribly time consuming to do, but it does require a number of specific steps and I never remember all of them. To help me remember them (and perhaps to help someone else), I’m putting together this tutorial.
Step 1: Purchase the new domain. For this tutorial, I’m going to be adding a domain my brother-in-law requested: flyingyoga.us. He’s a pilot but is getting certified as a yoga instructor and wanted to set up a simple website. I use Google Domains to purchase and manage all my domains. So, step 1, decide on what company you want to use to purchase your domains and purchase your domain.
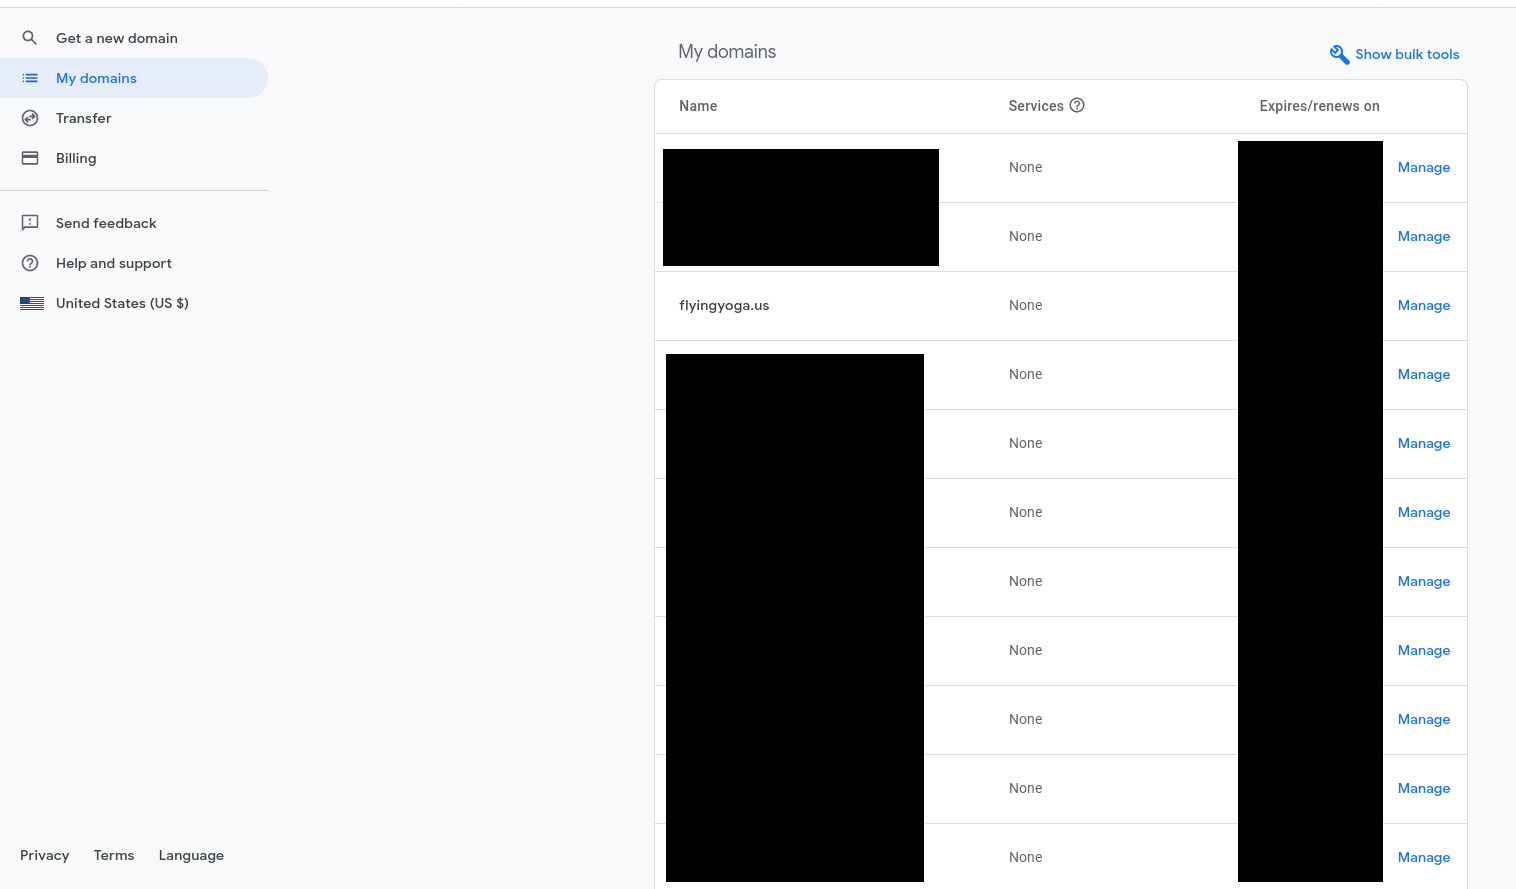
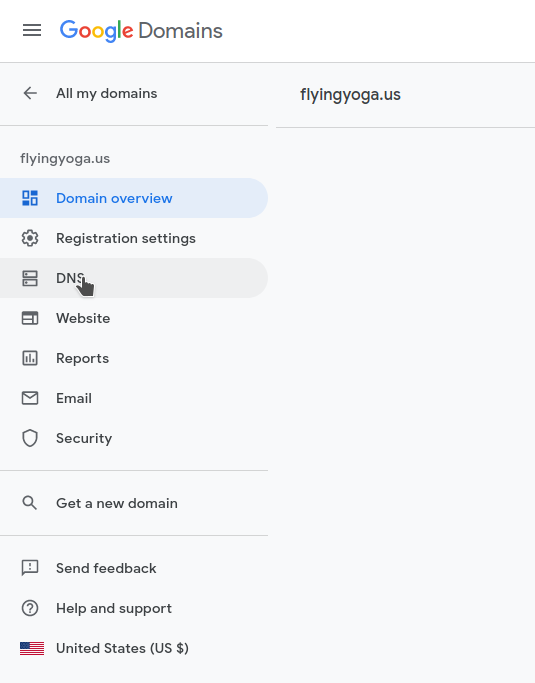
Step 2: Change the DNS settings on the new domain to point to Linode’s nameservers. If using Google domains, click on the domain then click on DNS:
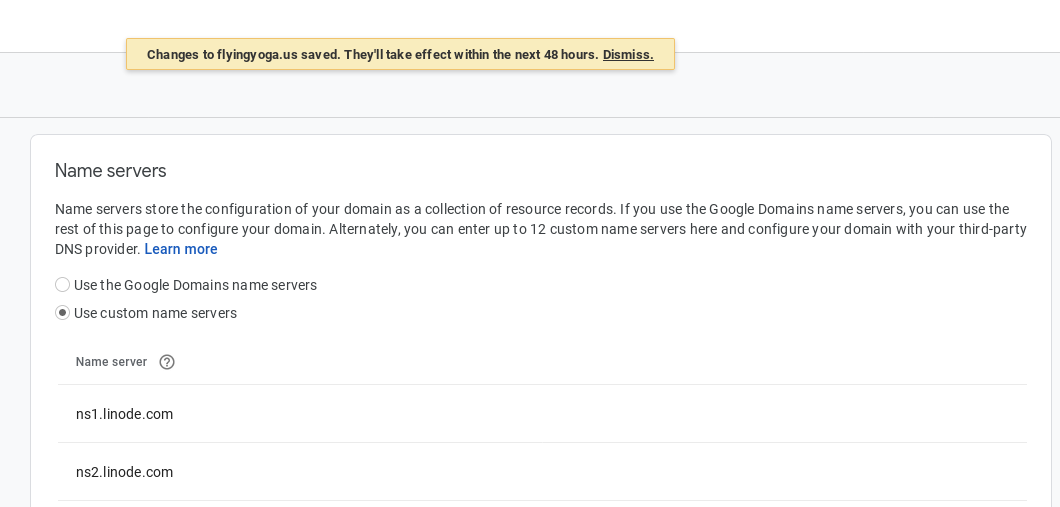
Under Name servers, select “Use custom name servers” and enter “ns1.linode.com” for the first Name server then add a second and enter “ns2.linode.com.” Hit Save.
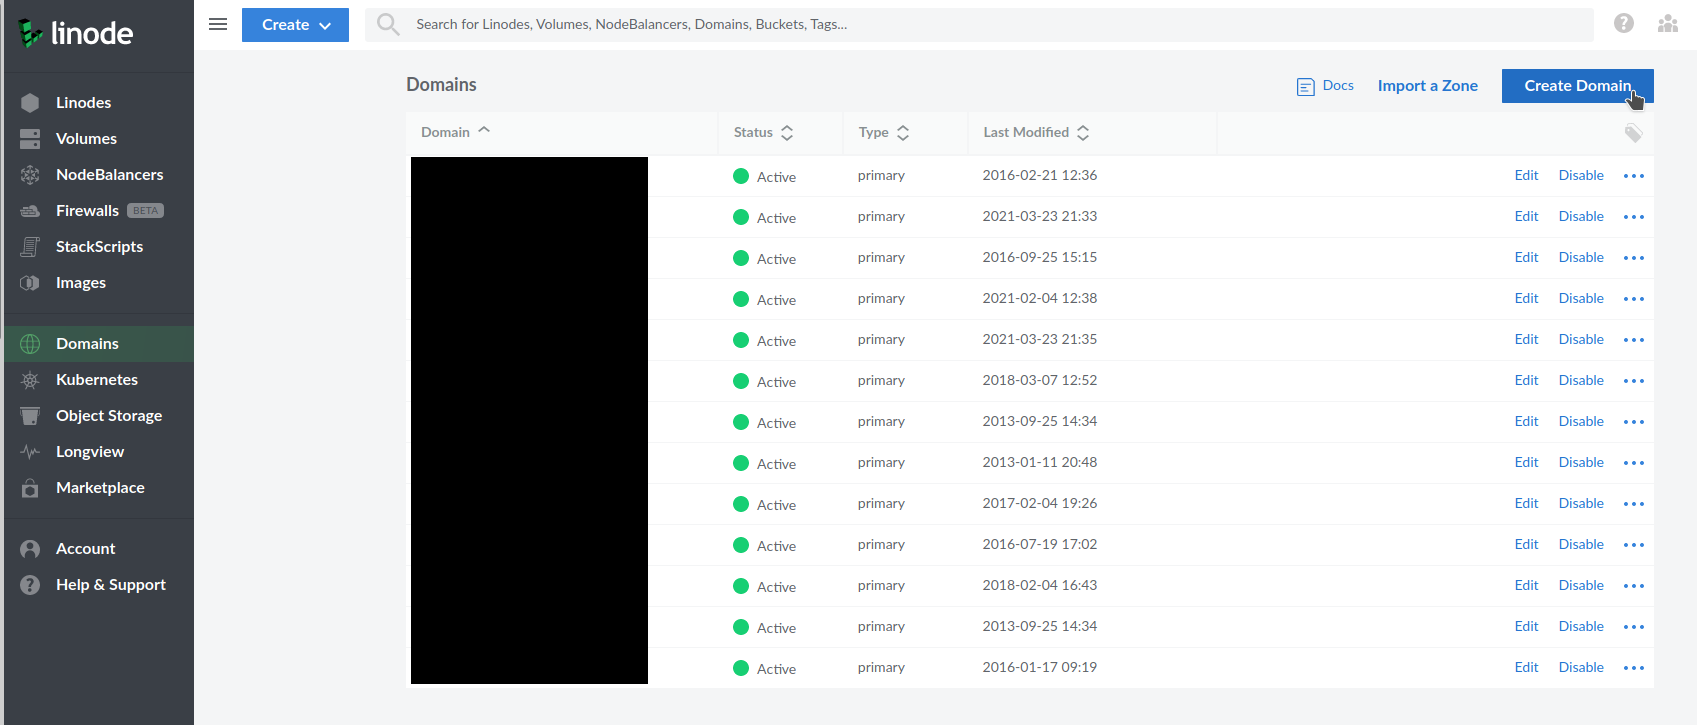
Step 3: You now need to add the domain and then add domain records to your Linode account. Login to your account and select Domains.
Click on “Create Domain”:
Enter the domain and the admin email address. Unless you need to do something special with the Records, select “Insert default records from one of my Linodes.” then select your Linode:
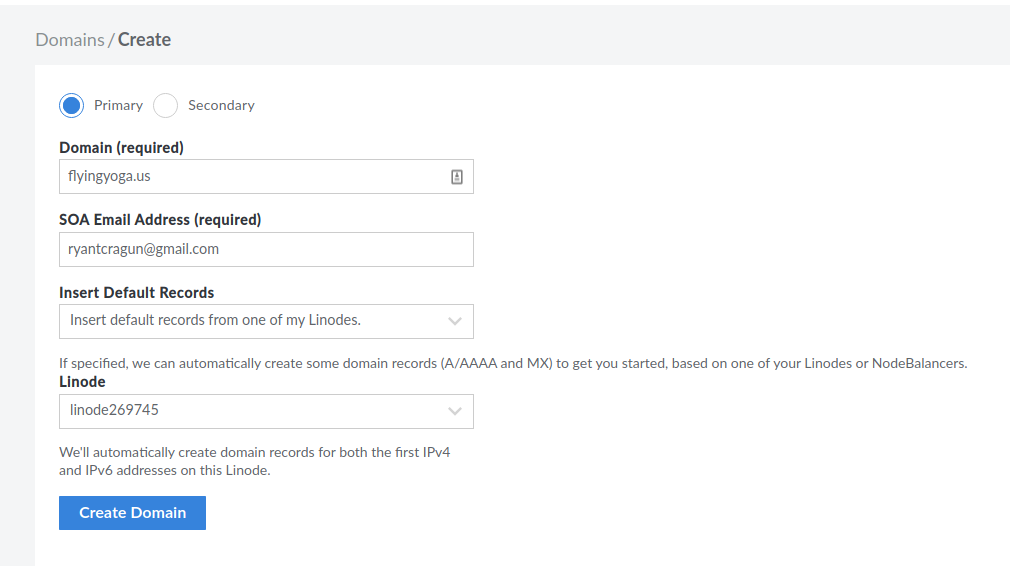
Assuming you don’t need anything special, the defaults should take care of this step and you’re done.
Step 4: Since I already have about a dozen websites running on the server, I’m not going to go into detail on how to install a LAMP stack – Apache, MySQL, and PHP. There are a number of tutorials for doing so. Instead, my next step is to SSH into my server (obviously replace “user” and the IP address with your own) and create the directories where the files for the new website will be hosted.
ssh user@192.168.0.1Whenever I log into my server, I use that as an opportunity to run updates.
sudo apt-get update
sudo apt-get upgrade
Next, navigate to the directory where you store your public-facing web files. On my server, it’s /var/www/
cd /var/www/In that directory, I’m going to create a new folder for the domain:
mkdir flyingyoga.usI’m then going to navigate inside that folder and create two additional folders: (1) a “public” folder where the actual files go and (2) a “logs” folder for access and error logs.
cd flyingyoga.us
mkdir logs public
Step 5: Download the latest version of WordPress and untar it into the public folder. Where you download it and untar isn’t actually all that important as we’re going to move it to the public folder shortly.
sudo wget http://wordpress.org/latest.tar.gz
tar -xvf latest.tar.gz
mv wordpress/* /var/www/flyingyoga.us/public/
rmdir wordpress/
rm latest.tar.gz
Just to clarify the above commands. The first line downloads the latest version of wordpress. The second one unpacks wordpress into a folder called “wordpress.” The third line moves all of the files that were just unpacked into the newly created public folder for the domain. The fourth line deletes the now empty “wordpress” folder and the fifth line deletes the wordpress tar.gz download (nice and clean server).
Now, navigate back to the main directory where you store all your website files and change the ownership of the directories:
cd ..
sudo chown -R www-data:www-data flyingyoga.us/
This allows Apache to access the information in the folders and since Apache is effectively the web server, that’s important. Don’t skip this step.
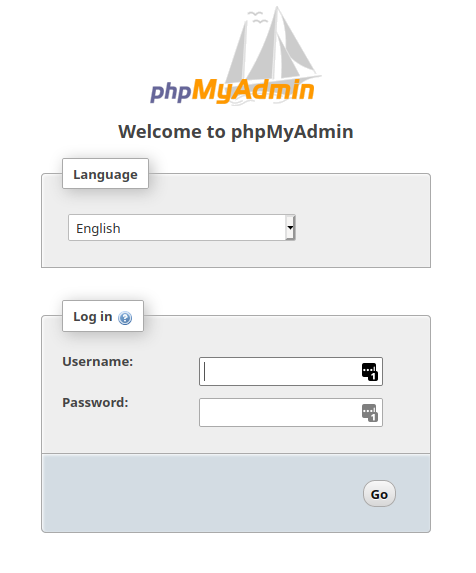
Step 6: It would be nice if we were done, but we’ve got a ways to go yet. Next up, let’s create a MySQL user and database with a corresponding user. This can be done from the command line as well, but I prefer using phpmyadmin.
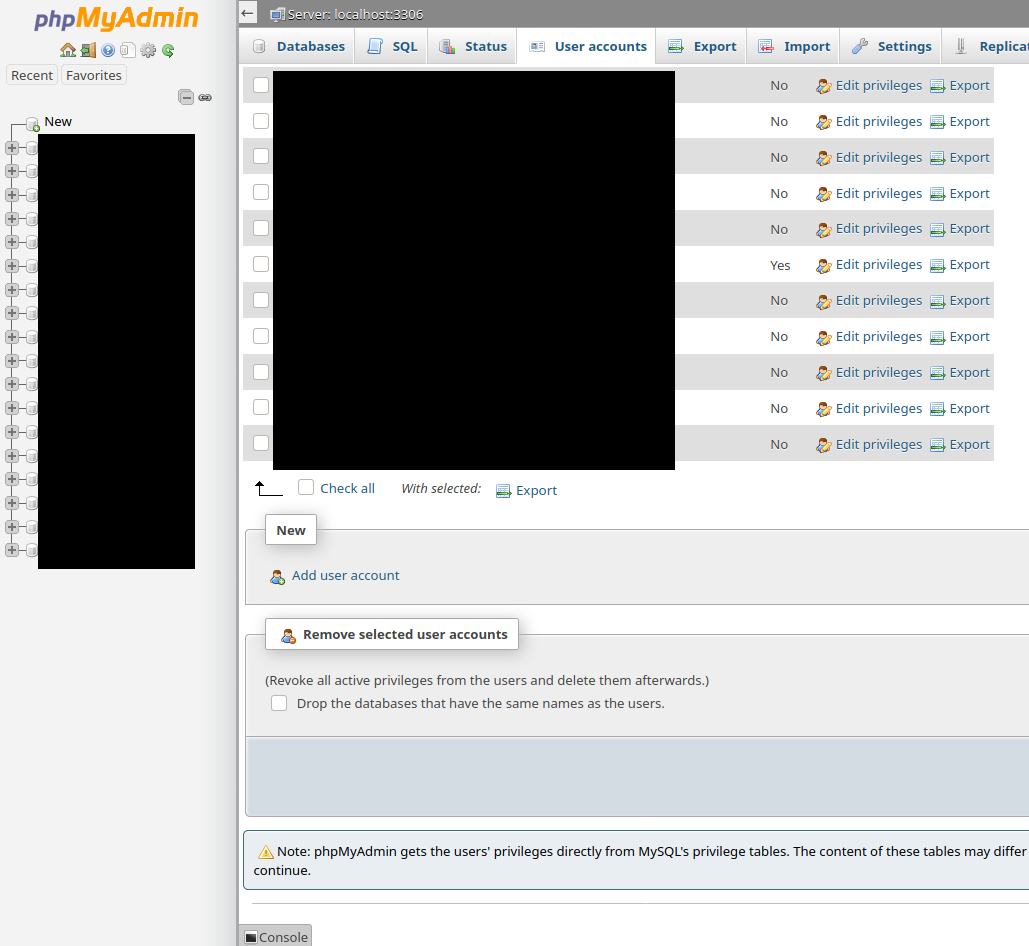
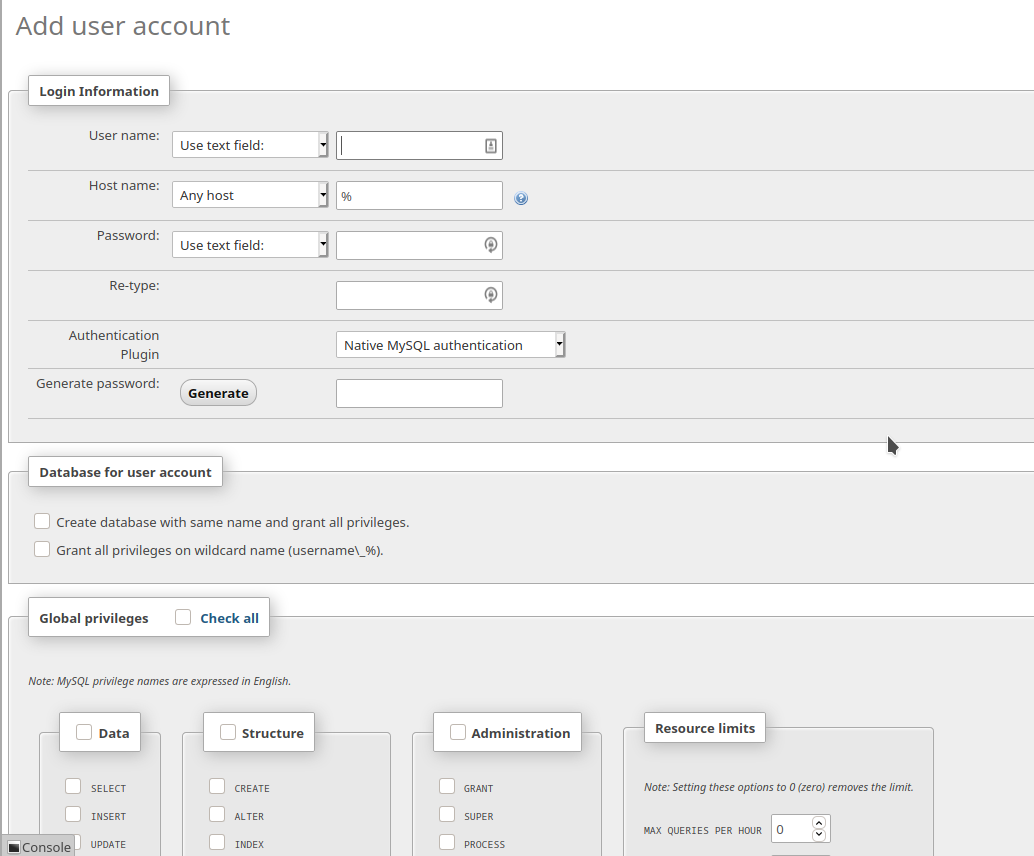
Navigate to “User accounts” and scroll down to “Add user account.” Click on that and you’ll get this screen:
Obviously, choose an appropriate user name. I typically let phpMyAdmin generate a nice strong password. Just below the “Login Information” box is a box that says “Database for user account.” Check “Create database with same name and grant all privileges.” Don’t check below that where it says “Global privileges – Check all.” That would give this user access to all databases you have on the server. Not a good security choice. Write down or copy the username and password to a text file as you’ll need it later. When you’ve got all that done, scroll down to the bottom and select “Go.” That will create your database, the user, with the password you wrote down (you wrote it down or copied it to a text file, right?). You now have the database WordPress is going to use for your website.
Step 7: Next up is creating the website information for Apache. Back to the SSH shell. Navigate to where the Apache websites are stored on your server:
cd /etc/apache2/sites-availableIn there, you should see the configuration files for all the websites on your server. Since I already have sites configured, I typically just copy one of the existing configuration files and then edit it according to the new domain:
cp otherdomain.com.conf flyingyoga.us.conf
cp otherdomain.com-le-ssl-conf flyingyoga.us-le-ssl-conf
Since I’m using SSL on all my domains, I have two configuration files per domain. The above commands copy existing configuration files and create new ones for my new domain. Here’s the contents for the first one: flyingyoga.us.conf:
<Directory /var/www/flyingyoga.us/public>
    Require all granted
</Directory>
<VirtualHost *:80>
        ServerName flyingyoga.us
        ServerAlias www.flyingyoga.us
        ServerAdmin ryantcragun@gmail.com
        DocumentRoot /var/www/flyingyoga.us/public

        ErrorLog /var/www/flyingyoga.us/logs/error.log
        CustomLog /var/www/flyingyoga.us/logs/access.log combined

RewriteEngine on
RewriteCond %{SERVER_NAME} =www.flyingyoga.us [OR]
RewriteCond %{SERVER_NAME} =flyingyoga.us
RewriteRule ^ https://%{SERVER_NAME}%{REQUEST_URI} [END,NE,R=permanent]
</VirtualHost>
And the contents for the second one – flyingyoga.us-le-ssl-conf
<IfModule mod_ssl.c>
<Directory /var/www/flyingyoga.us/public>
    Require all granted
</Directory>
<VirtualHost *:443>
        ServerName flyingyoga.us
        ServerAlias www.flyingyoga.us
        ServerAdmin ryantcragun@gmail.com
        DocumentRoot /var/www/flyingyoga.us/public

        ErrorLog /var/www/flyingyoga.us/logs/error.log
        CustomLog /var/www/flyingyoga.us/logs/access.log combined

Include /etc/letsencrypt/options-ssl-apache.conf
SSLCertificateFile /etc/letsencrypt/live/ryantcragun.com/fullchain.pem
SSLCertificateKeyFile /etc/letsencrypt/live/ryantcragun.com/privkey.pem
</VirtualHost>
</IfModule>
Once you have these updated, you can then tell Apache to load the site:
sudo a2ensite flyingyoga.us.conf
systemctl reload apache2
The first line tells Apache to enable the site. The second line restarts Apache. NOTE: You don’t have to load the ssl configuration file (i.e., flyingyoga.us-le-ssl-conf).
Step 8: Since I have SSL encryption on all of my websites using LetsEncrypt, there is an extra step. This is always the one I forget. Since I’m adding a domain, I have to use the following commands to add a domain to my existing domains on the single SSL certificate that I use for all of my domains. First, let me find the name of my current certificate:
certbot certificatesThat provides me the name of my current certificate as well as a list of all of my other domains. Next, I copy all of the existing domains so I can update the certificate and add the two new ones I need to add. The command to then get a new certificate with the added domains is:
certbot --expand -d existing.com,www.existing.com,flyingyoga.us,www.flyingyoga.comAssuming everything works, this will expand the existing certificate with the new domain and issue a new SSL certificate with all the domains. (NOTE: no spaces between the domains.)
Step 9: Now you can test your server. I always do this by creating a simple html file with the classic “Hello World” in it and putting that into the public directory for the new website:
<!DOCTYPE html>
<html>
    <head>
        <title>Test Page</title>
    </head>
    <body>
        <p>Hello World!</p>
    </body>
</html>
Save that as “index.html” and put it in the public folder. Now, navigate to the new domain in your browser and, hopefully, you’ll see “Hello World!”
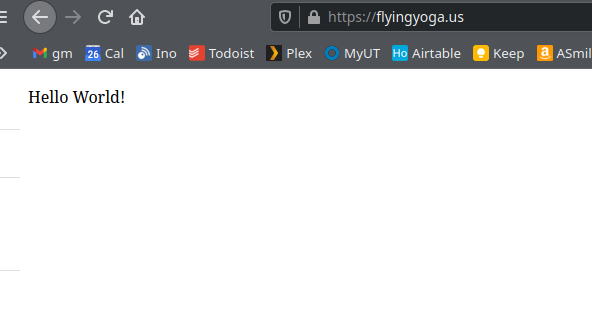
If you saw “Hello World!” in your browser, everything is working. It’s always a good idea to check that the https redirect is working as well – so you know that your SSL certificate is good and working. The easiest way to do that is to click on the lock icon in your browser and then check the certificate information.
Step 10: Now, the final step to install WordPress – change the name of the index.html file to something else (e.g. “index.html-test”) then reload the page. You should now see the installation guide for WordPress that will ask for your database name, username, and password:
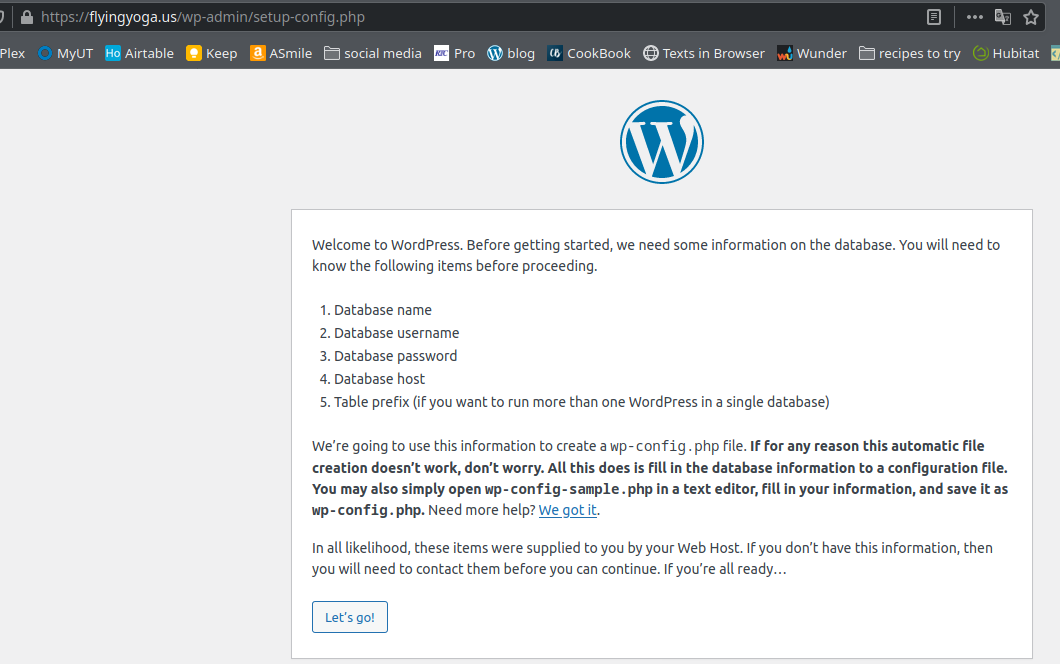
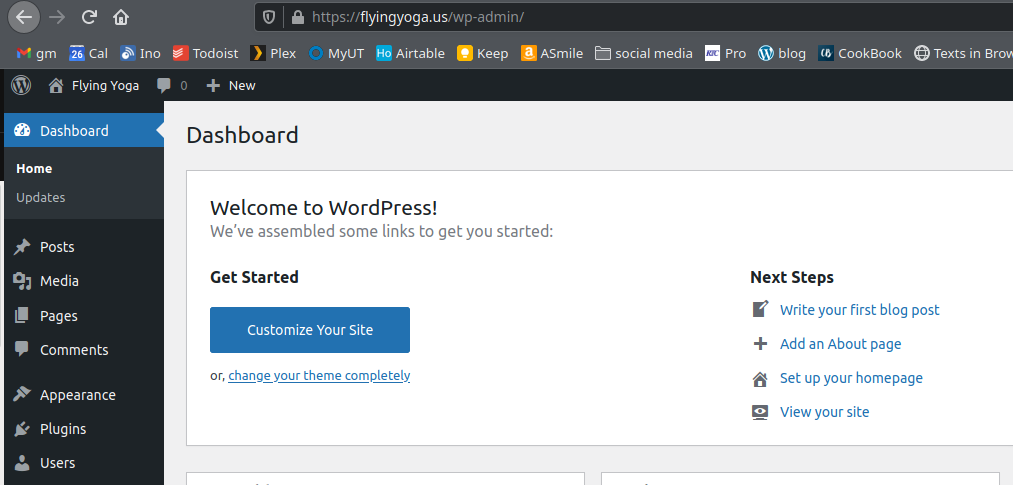
Enter the database information from Step 6 above. Assuming everything goes according to plan, WordPress will populate the database with the relevant fields and your site will be ready:
![]()
