

My son recently went on a field trip. The teachers who went with him took hundreds of photos… on their iPhones. Since I want the photos of him, I downloaded all of them so I could skim through them and find the ones of my son. But I quickly realized that I was having issues seeing them on Kubuntu (22.04 LTS).
The new default file format for photos on the iPhone is HEIC/HEIF, not JPG. While there are a number of programs on Linux that can open HEIC photos (e.g., GIMP, digiKam, etc.), Kubuntu 21.04 doesn’t seem to work all that well with the photos and, as of November 14th, 2022, Gwenview doesn’t open HEIC photos. I could individually open all of the photos (all 700+) in GIMP and look for the ones that include my son, or do the same in DigiKam (which makes it faster), but I was wondering if there is an easy way to convert or, even better, batch convert all of the images so I can skim through them in Gwenview or see them quickly using the OS and Dolphin. I came up with two options
Command Line/Konsole
Combining my batch command for converting AVI (and other video files) with this StackExchange thread, I came up with a batch command for converting a folder of HEIC/HEIF photos. First, install the libheif-examples package:
sudo apt-get install libheif-examplesThen, navigate to the folder of HEIC/HEIF files in your Konsole. Here’s the command that worked for me:
for i in *.HEIC; do heif-convert "$i" "${i%.*}.jpg"; doneThis is a loop command. The first part tells the computer to loop through the folder looking for every file with the HEIC file extension. After the semicolon, it tells the computer to use the heif-convert function to convert all of the files with the HEIC extension to JPG format and copy the name.
Interestingly, it looks as though the HEIC file format includes multiple layers of photos in some photos. The batch conversion command extracts those additional layers. Glancing through the layers that are extracted is pretty interesting. Sometimes the layer is an HDR gain map. Other times it is a portrait map. But there are also occasionally maps for depth, glasses, hair, skin, and teeth, among other items. Apple’s camera software appears to be able to detect specific elements of photos and is then using various algorithms to modify the photo with enhancements for specific elements of the photo, like teeth, glasses, and portraits.
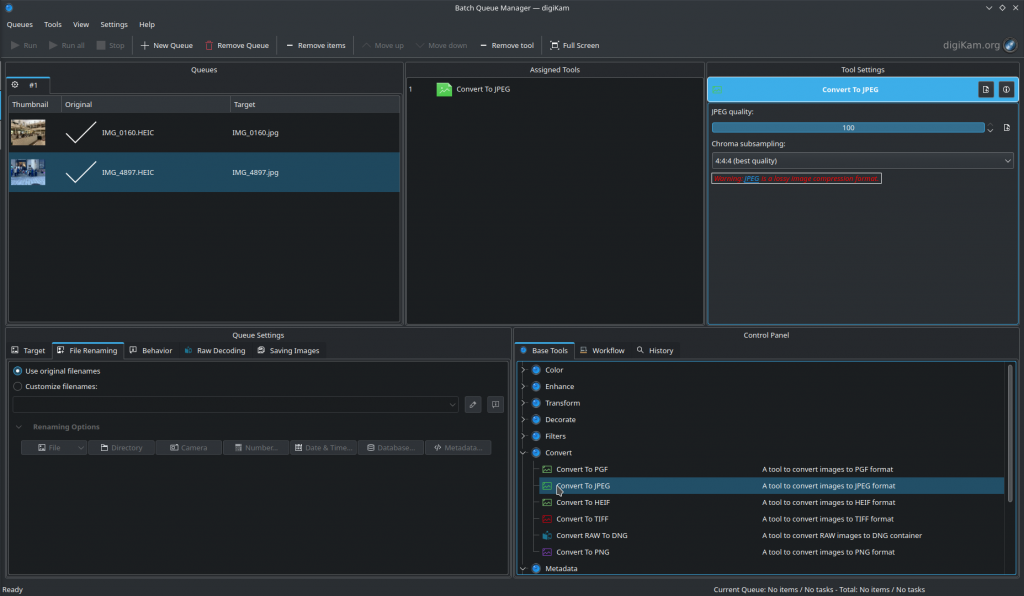
digiKam
After I figured out the Konsole command above, I realized that digiKam is basically a Swiss Army knife utility when it comes to photos and has a built-in batch processing features. I threw a few HEIC/HEIF files into my photos folder and opened up digiKam. Not surprisingly, digiKam can convert the photos. Simply add them to a new Batch Queue. Then, select the format to which you want to convert them. When you’ve made all the remaining modifications (e.g., file renaming, location, etc.), run it and digiKam will convert all the photos to your target format.

HEIF/HEIC is definitely a better compression algorithm. JPG files were between 5 and 8 times bigger than the HEIC files. It may be the case that I’ll want HEIF/HEIC files in the future, but, until Kubuntu plays nicer with HEIC/HEIF files, these batch conversion techniques will be helpful to convert photos.
![]()
